Turn a Jupyter Notebook into a Web App

No Flask. No React. No rewrite. Add a widget to your notebook and Mercury turns it into a shareable web app — this page walks through exactly how.

4.3k GitHub starsOpen sourceApache-2.0
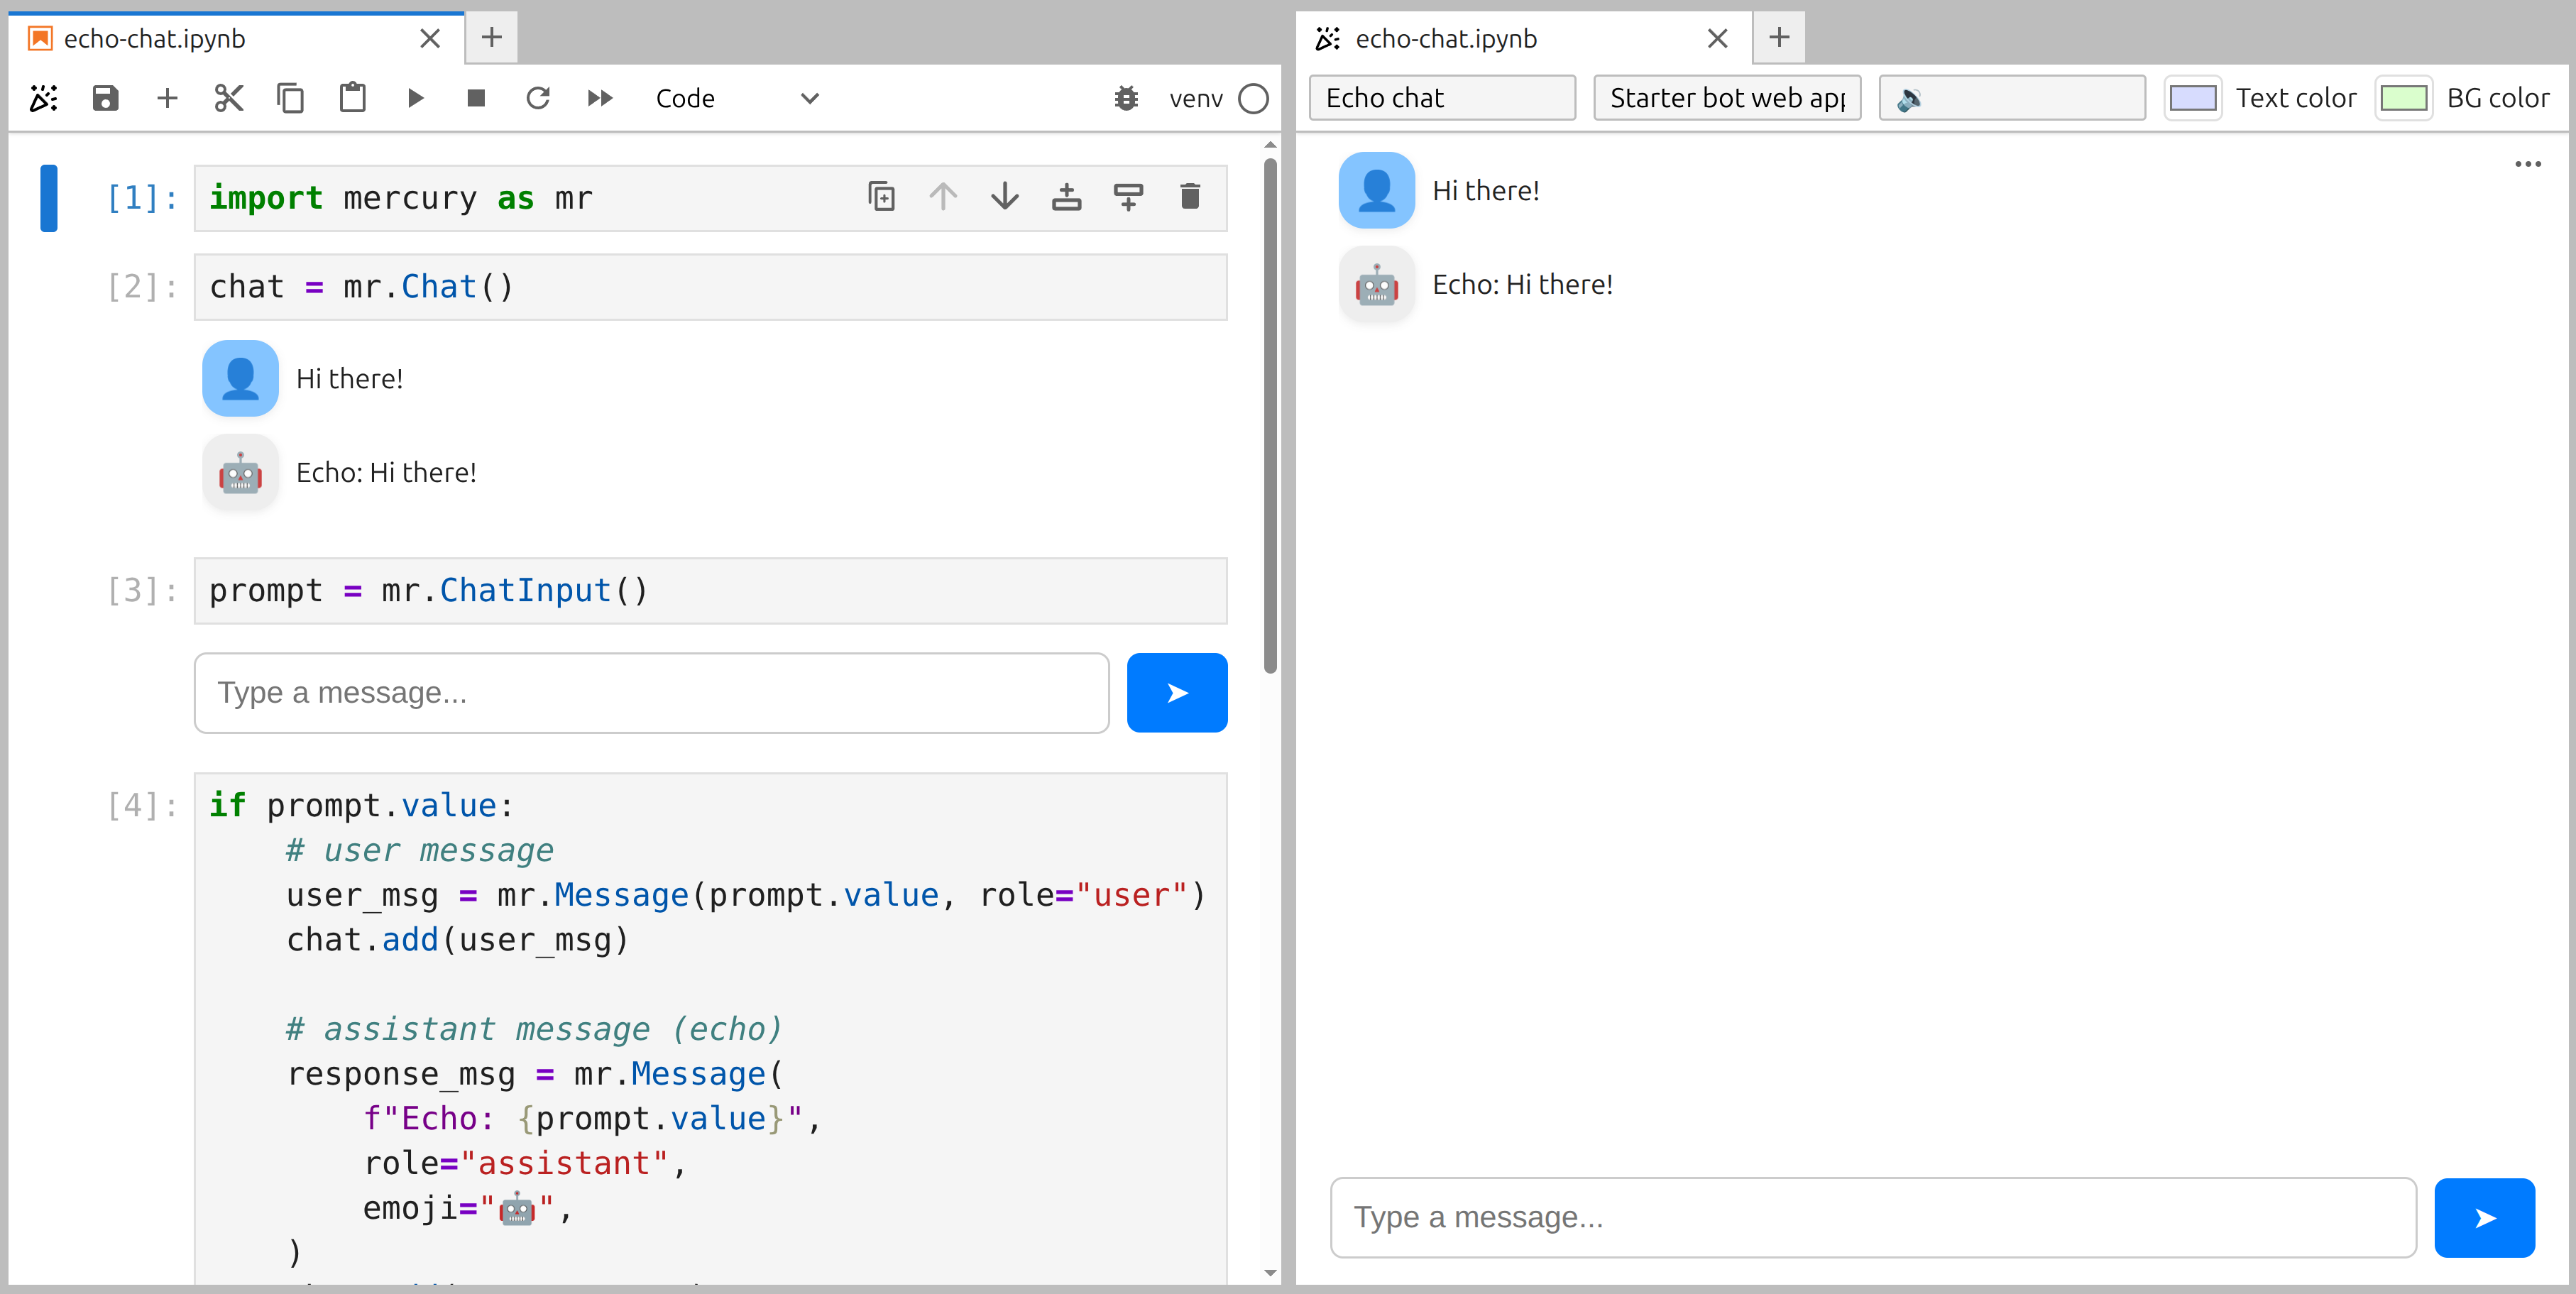
A Jupyter notebook and its live Mercury web app preview side by side

How to turn a Jupyter notebook into a web app

Turning a notebook into a browser application used to mean a rewrite: pull the logic out of Jupyter, rebuild it as a Flask or Streamlit script, write HTML for the layout, and wire up callbacks for every button and dropdown. Mercury skips that restructuring. You write a normal Python notebook. When you add a Mercury widget to a cell, it becomes an input in the browser. When someone changes it, Mercury recomputes only the cells below it—not the entire notebook and not a separate application. There is no callback function to write and no route to define. The notebook is the app.

Before and after

The same result with less application code

A traditional web framework separates routes, templates, and form handling. Mercury keeps the interface next to the analysis.

The Flask way
from flask import Flask, render_template_string, request app = Flask(__name__) TEMPLATE = """ <form method="POST"> <label>What is your name?</label> <input type="text" name="name"> <button type="submit">Submit</button> </form> {% if name %} <h2>Hello {{ name }}! 👋</h2> {% endif %} """ @app.route("/", methods=["GET", "POST"]) def index(): name = request.form.get("name", "") return render_template_string(TEMPLATE, name=name) if __name__ == "__main__": app.run(debug=True)

12 lines, 2 files, HTML + Python

The Mercury way
[1]
import mercury as mr
[2]
name = mr.TextInput(label="What is your name?")
[3]
mr.Markdown(f"## Hello {name.value}! 👋")

3 cells, 1 notebook, just Python

Same result. No route, no template, no server boilerplate — just the notebook you were already writing.

Installation

Easy to install

Mercury is a Python package. It comes built into MLJAR Studio, so there is nothing to install — and in any other Jupyter environment a single command is enough.

Built into MLJAR Studio

Mercury is preinstalled in MLJAR Studio. Open a notebook and start building — no setup, no pip command, nothing to configure.

Already installed

JupyterLab, VS Code, and more

Already using another Jupyter environment? Install Mercury in the same Python environment as your notebook with one command.

$
pip install mercury
JupyterLabVS CodeJupyter Notebook

Complete workflow

Step-by-step walkthrough

Follow the path from an ordinary notebook to a reactive preview you can share.

  1. 1. Write a notebook
  2. 2. Add a widget
  3. 3. Open live preview
  4. 4. Change the value
  5. 5. Deploy
Step 1

Write a normal notebook

Build the analysis in JupyterLab or MLJAR Studio exactly as you normally would. Use regular Python cells, Markdown, DataFrames, charts, and your preferred libraries.

Why: Mercury works with the notebook you already have. There is no application scaffold to create first.

analysis.ipynb
import pandas as pd
df = pd.read_csv("sales.csv")
df.groupby("region").sum()
Step 2

Add a widget, no callbacks to wire up

import mercury as mr name = mr.TextInput( label="What is your name?" )

Widgets are declared inline in a cell. Every cell below the widget recomputes automatically when its value changes. Nothing else in the notebook needs to change.

Mercury widget code beside its live app preview
Step 3

Open live preview

Click the 🎉 icon in the notebook toolbar to open the live preview panel. It works in JupyterLab and MLJAR Studio.

Fully supported in JupyterLab and MLJAR Studio. Google Colab and VS Code don't have the live preview panel yet.

Why: you can test the application interface while the notebook remains open beside it.

JupyterLab notebook with Mercury live preview open
Step 4

Change the widget, watch it react

Change the input and Mercury recomputes the cells below it automatically. Work above the widget stays in place, which keeps the notebook's execution model easy to reason about.

Why: the input, Python logic, and output stay together in notebook order.

Before

What is your name?

Ada

Hello Ada! 👋

After

What is your name?

Grace

Hello Grace! 👋

Make it yours

Styling and customization

Set shared branding for the whole Mercury site, then adjust individual notebook presentation from the preview toolbar.

App-level configuration

config.toml lives next to your notebooks and sets branding across every app you serve, including the title, footer, and favicon.

config.toml
[main] title = "Mercury" footer = "MLJAR - next generation of AI tools" favicon_emoji = "🎉" [welcome] header = "" message = ""

Per-notebook appearance

The preview toolbar exposes the notebook title, description, icon emoji, text color, background color, code visibility, and full-width layout. Showing code is especially useful for teaching and instructor-led examples.

Mercury preview toolbar controls for notebook title, description, colors, code visibility, and full-width layout

Multiple notebooks, one home page

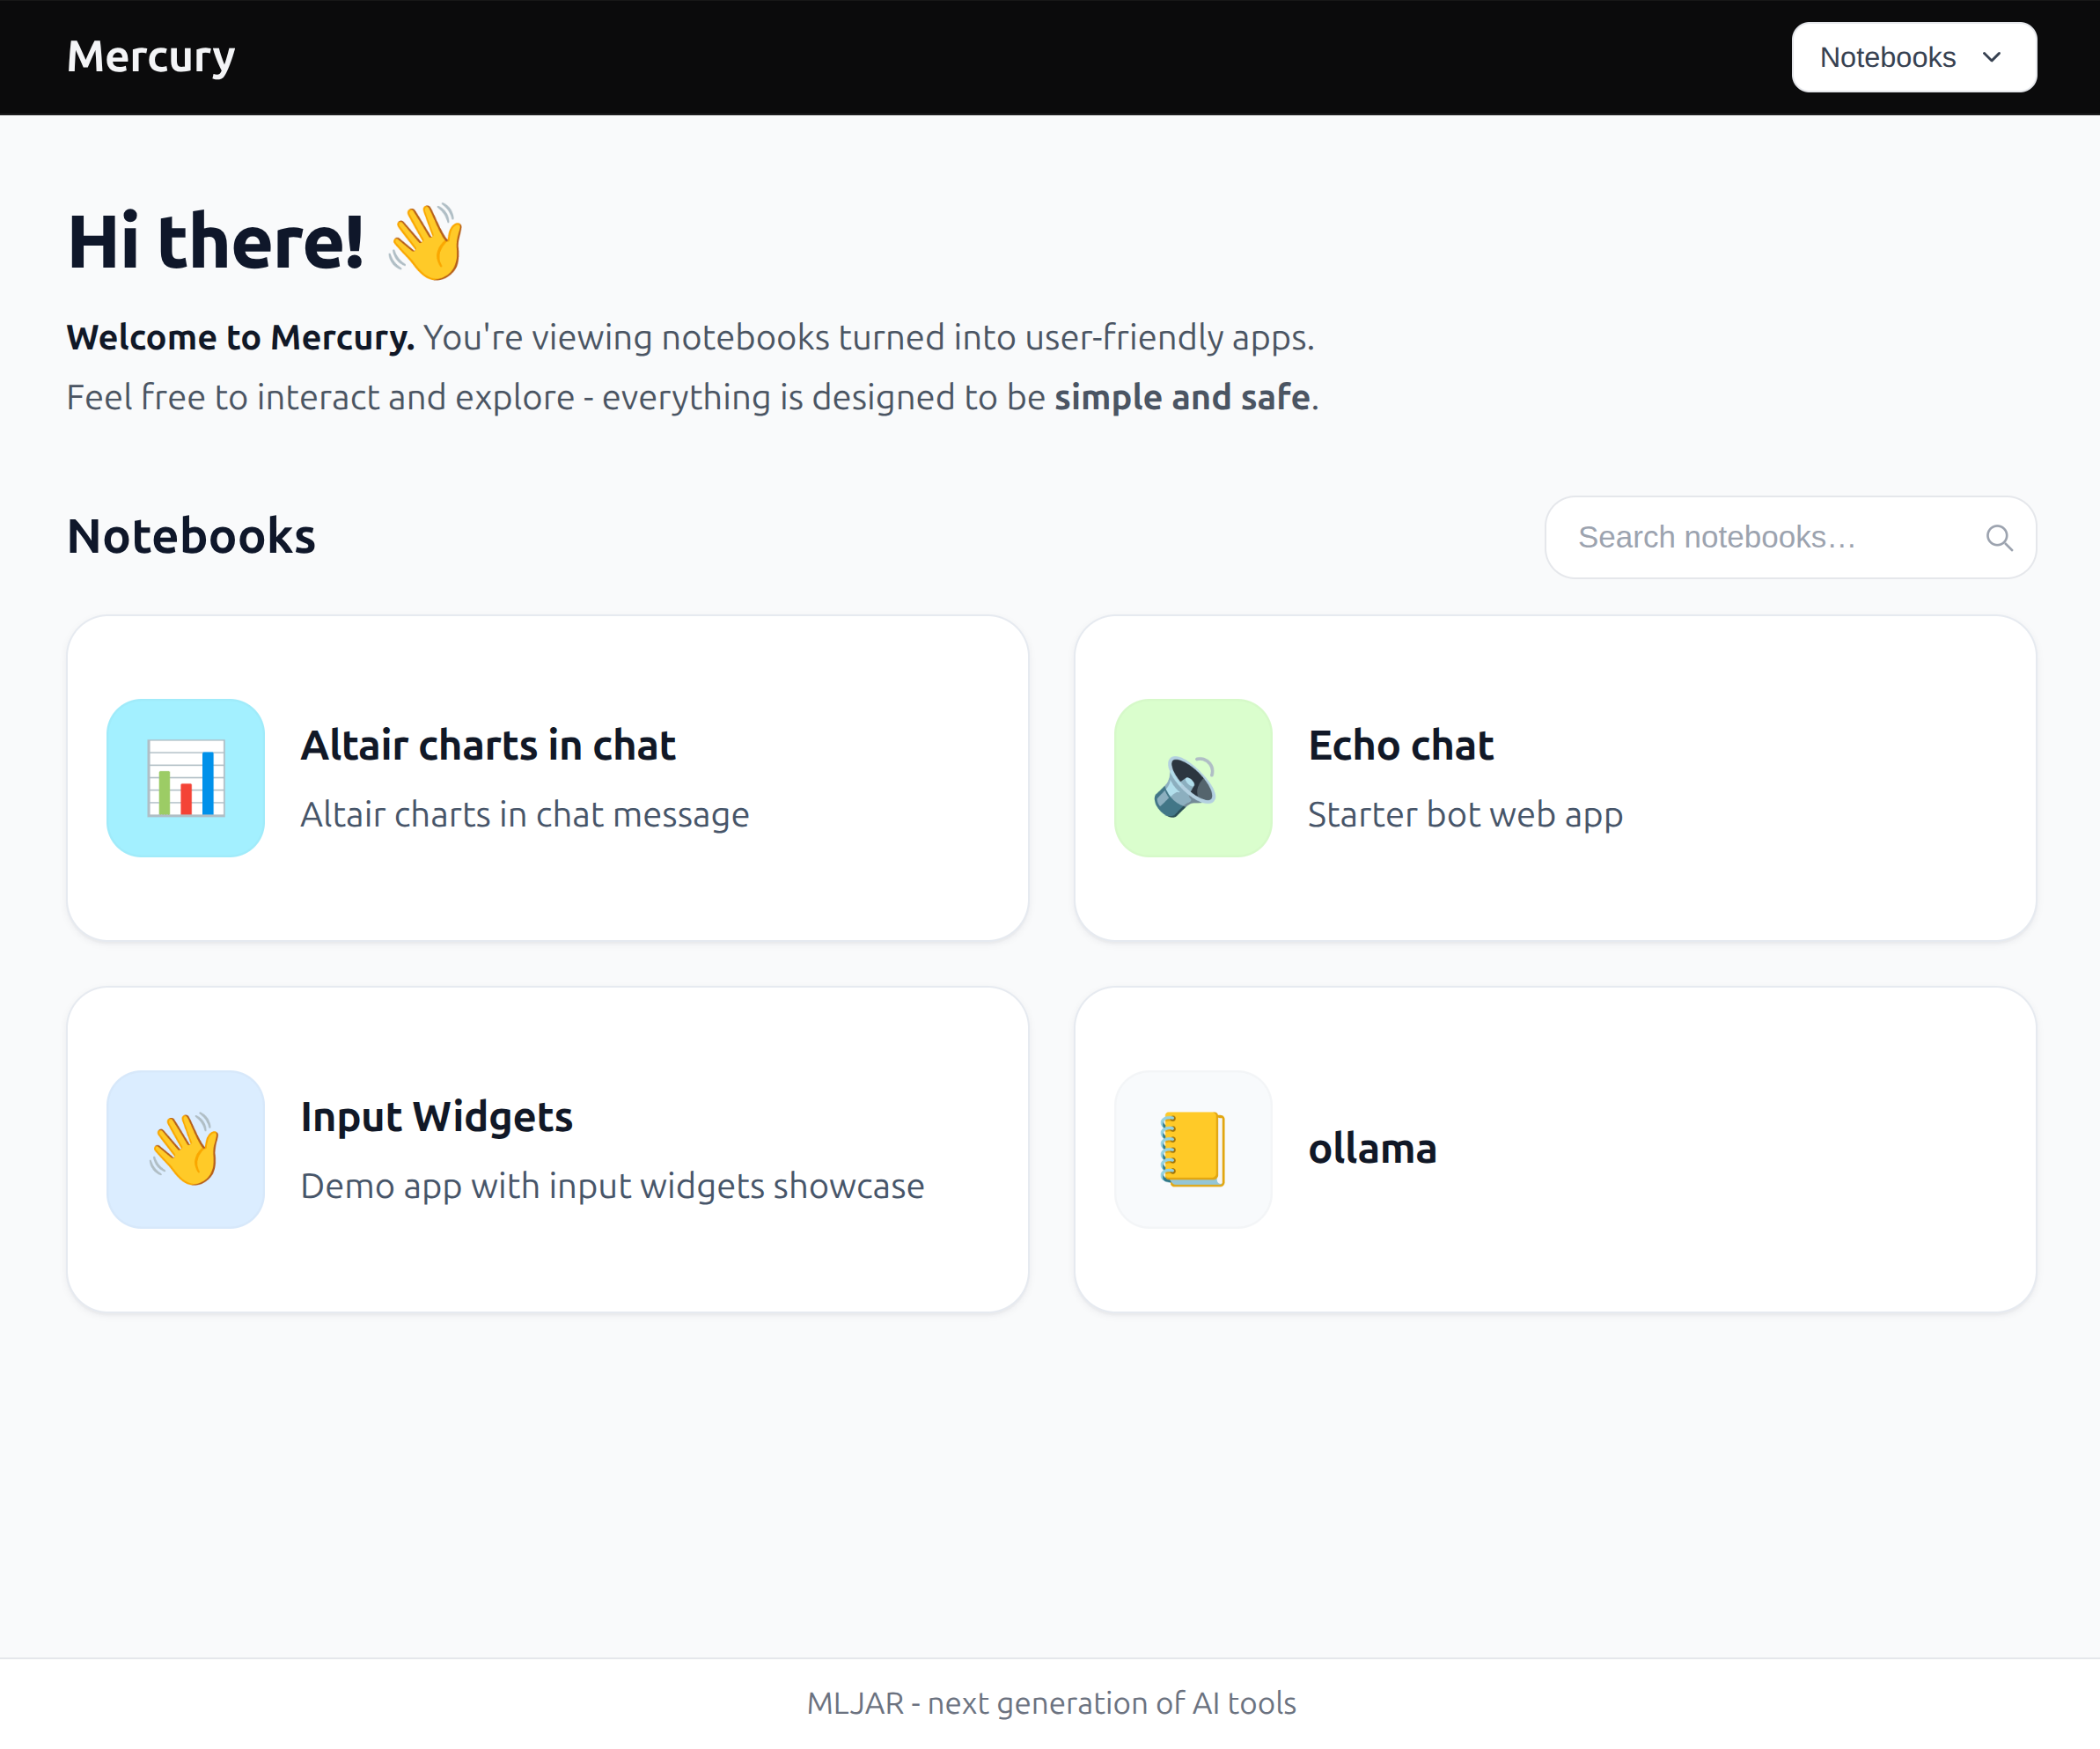
Serve more than one notebook and Mercury automatically generates a home page that lists each application as a card. Users get one clean entry point instead of a folder of notebook files.

Mercury home page listing several notebook applications as cards

See the range

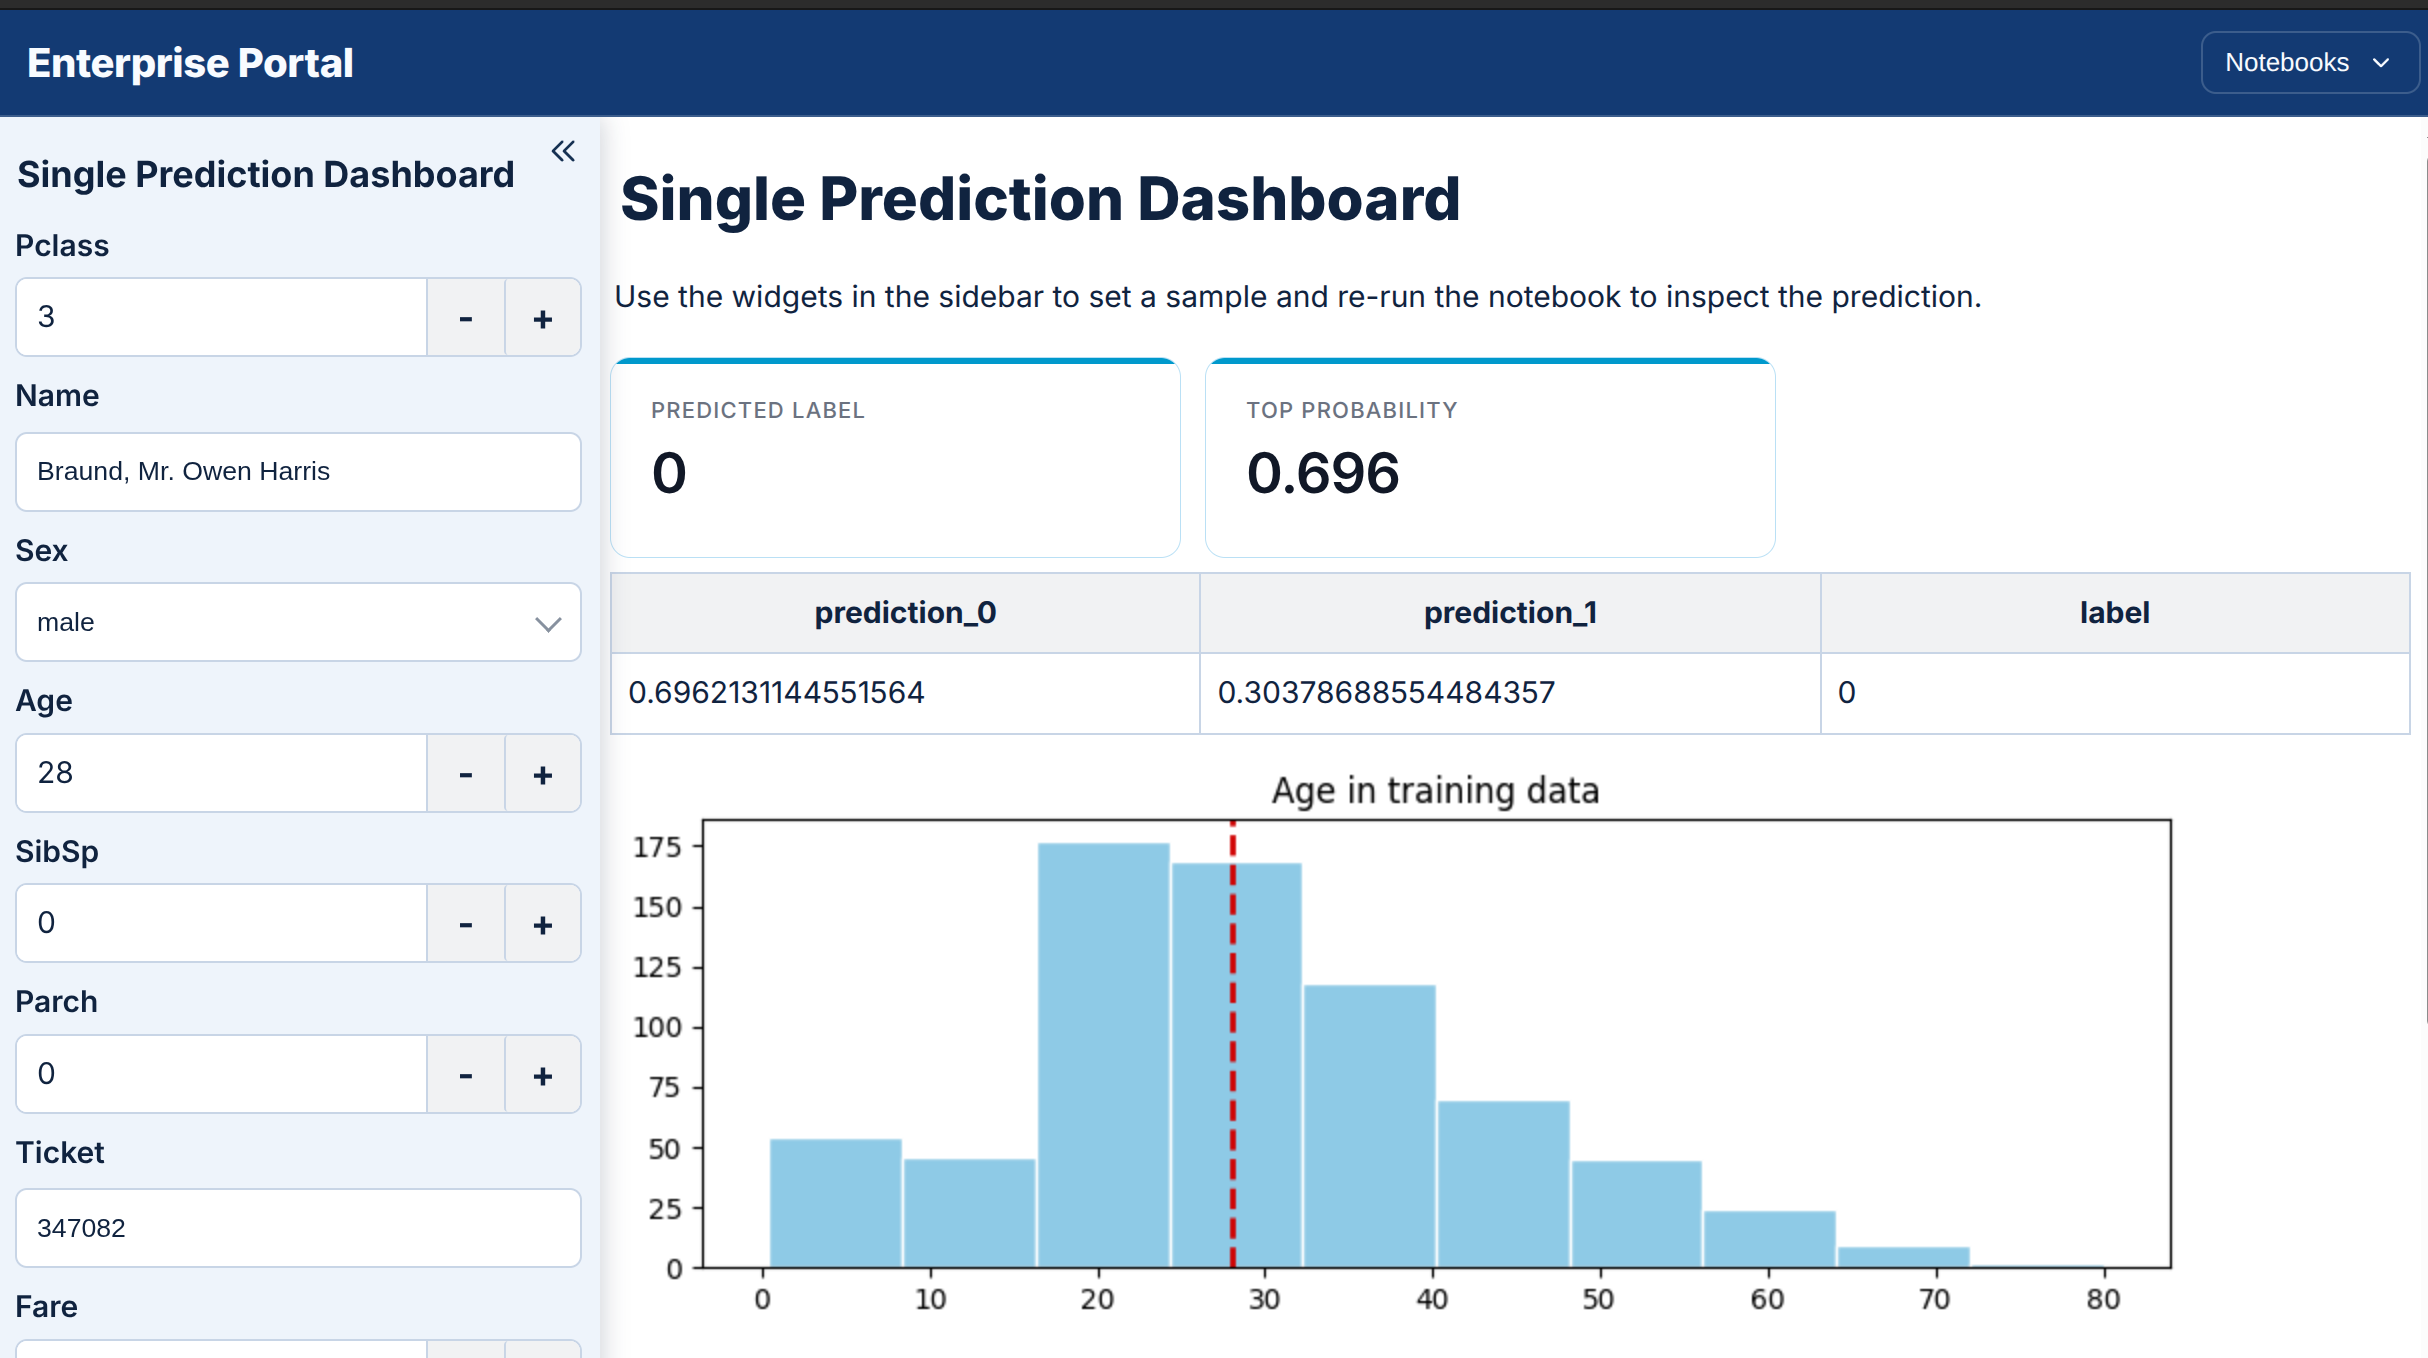
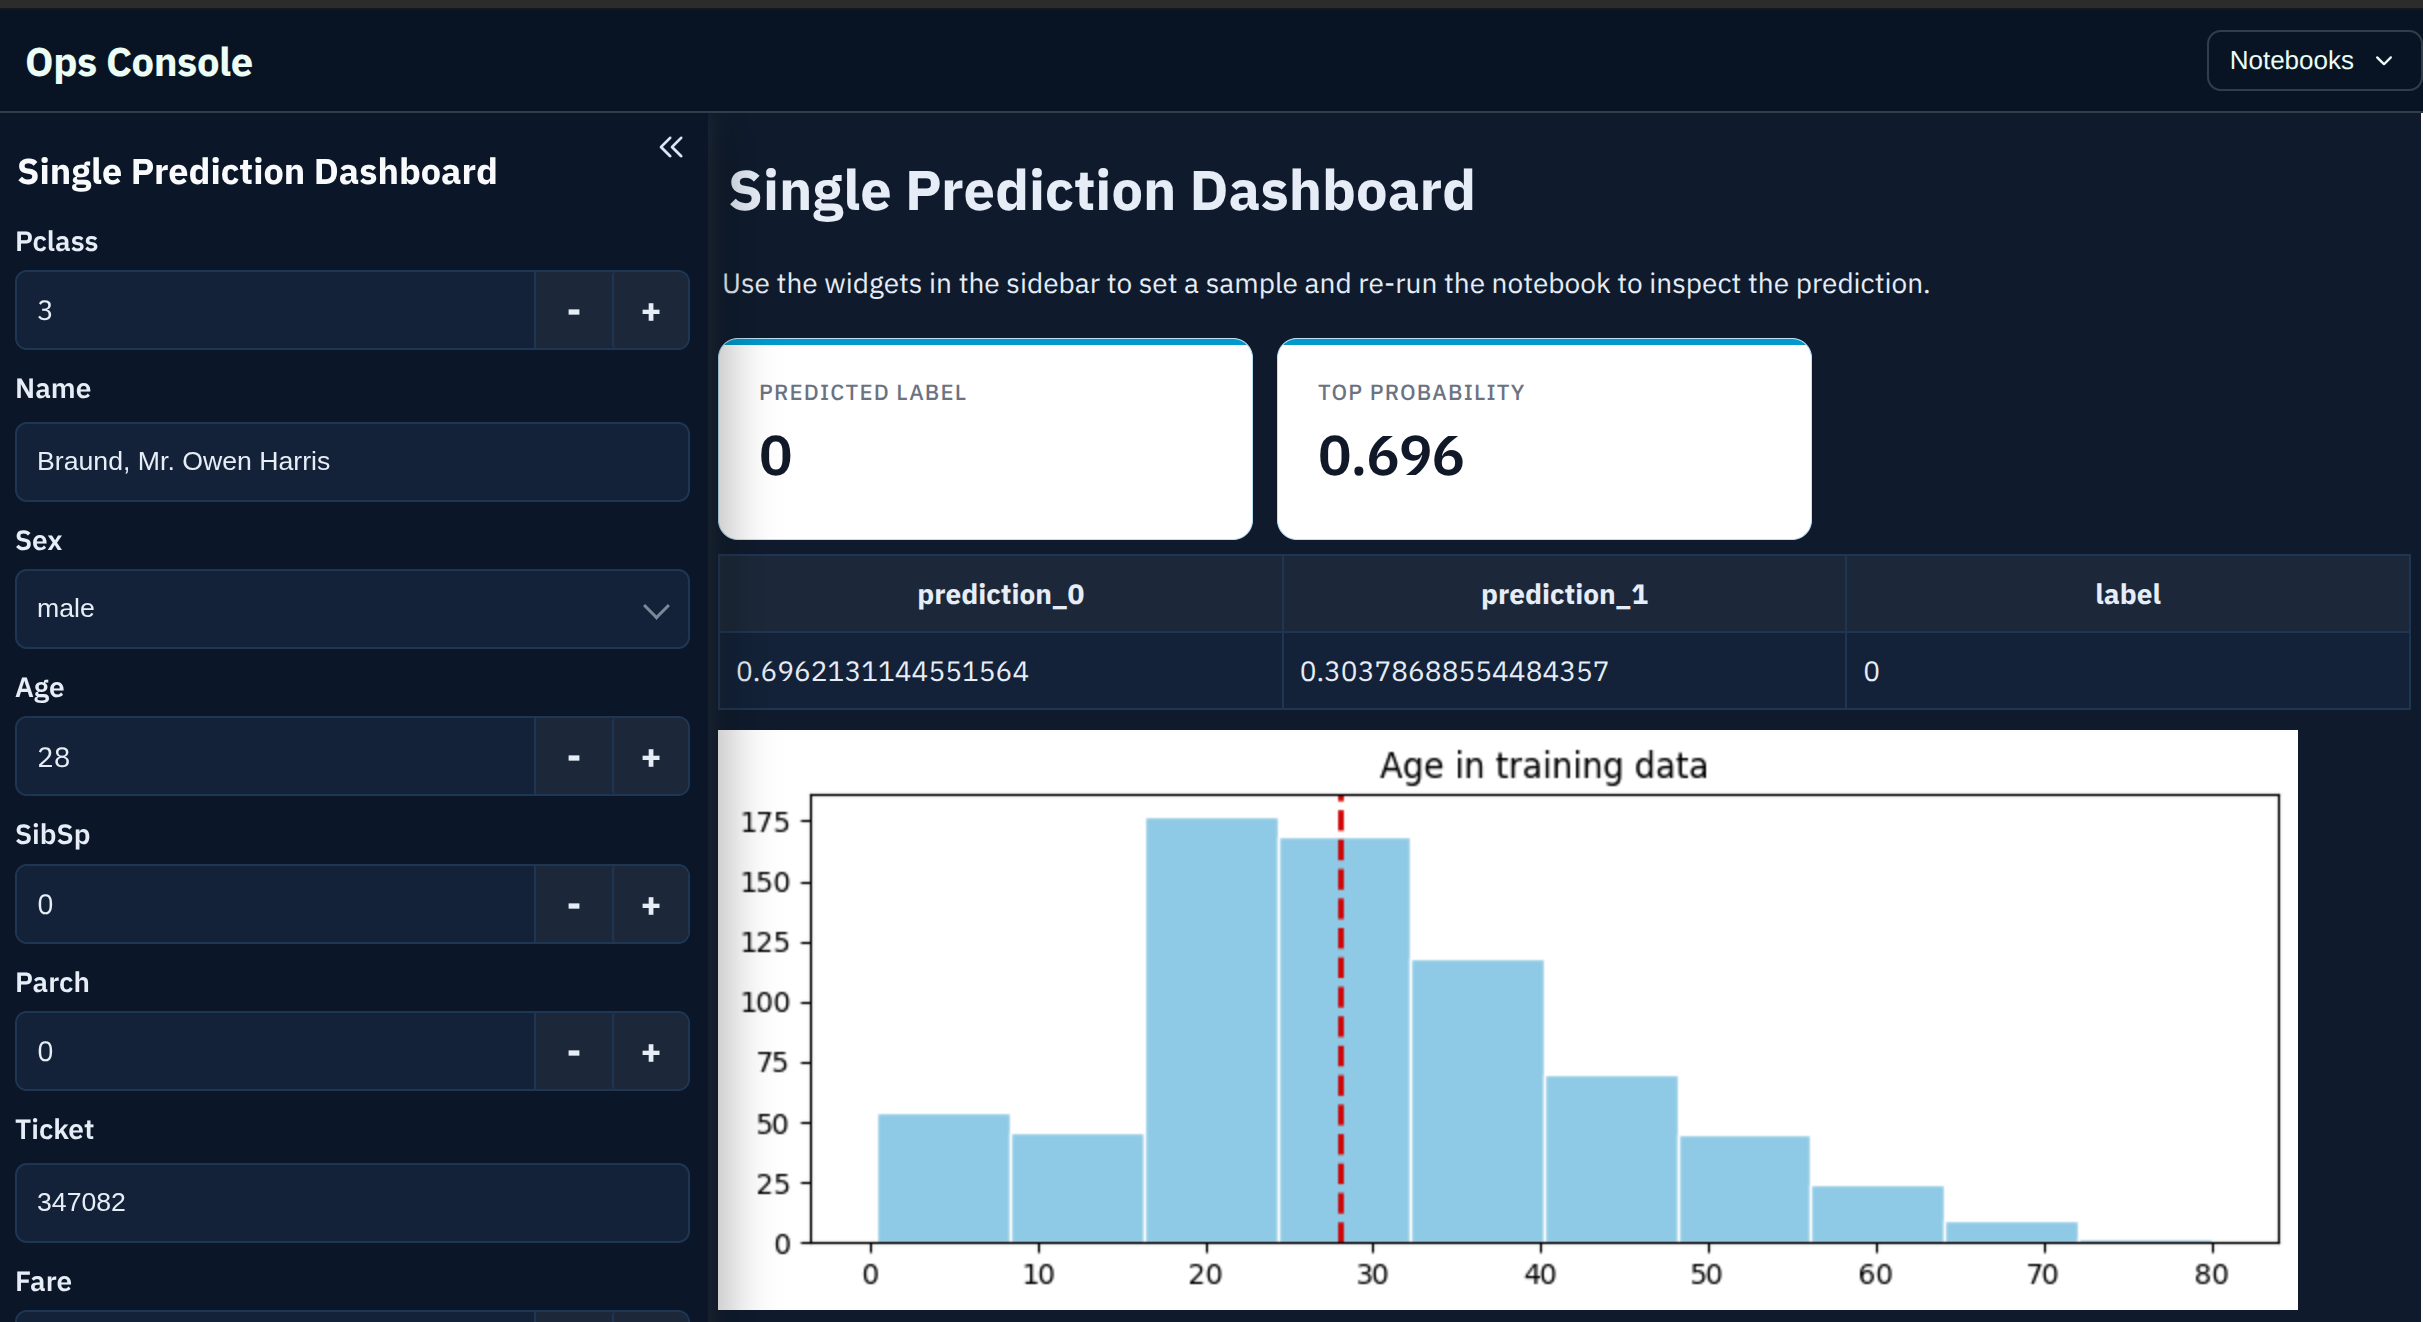
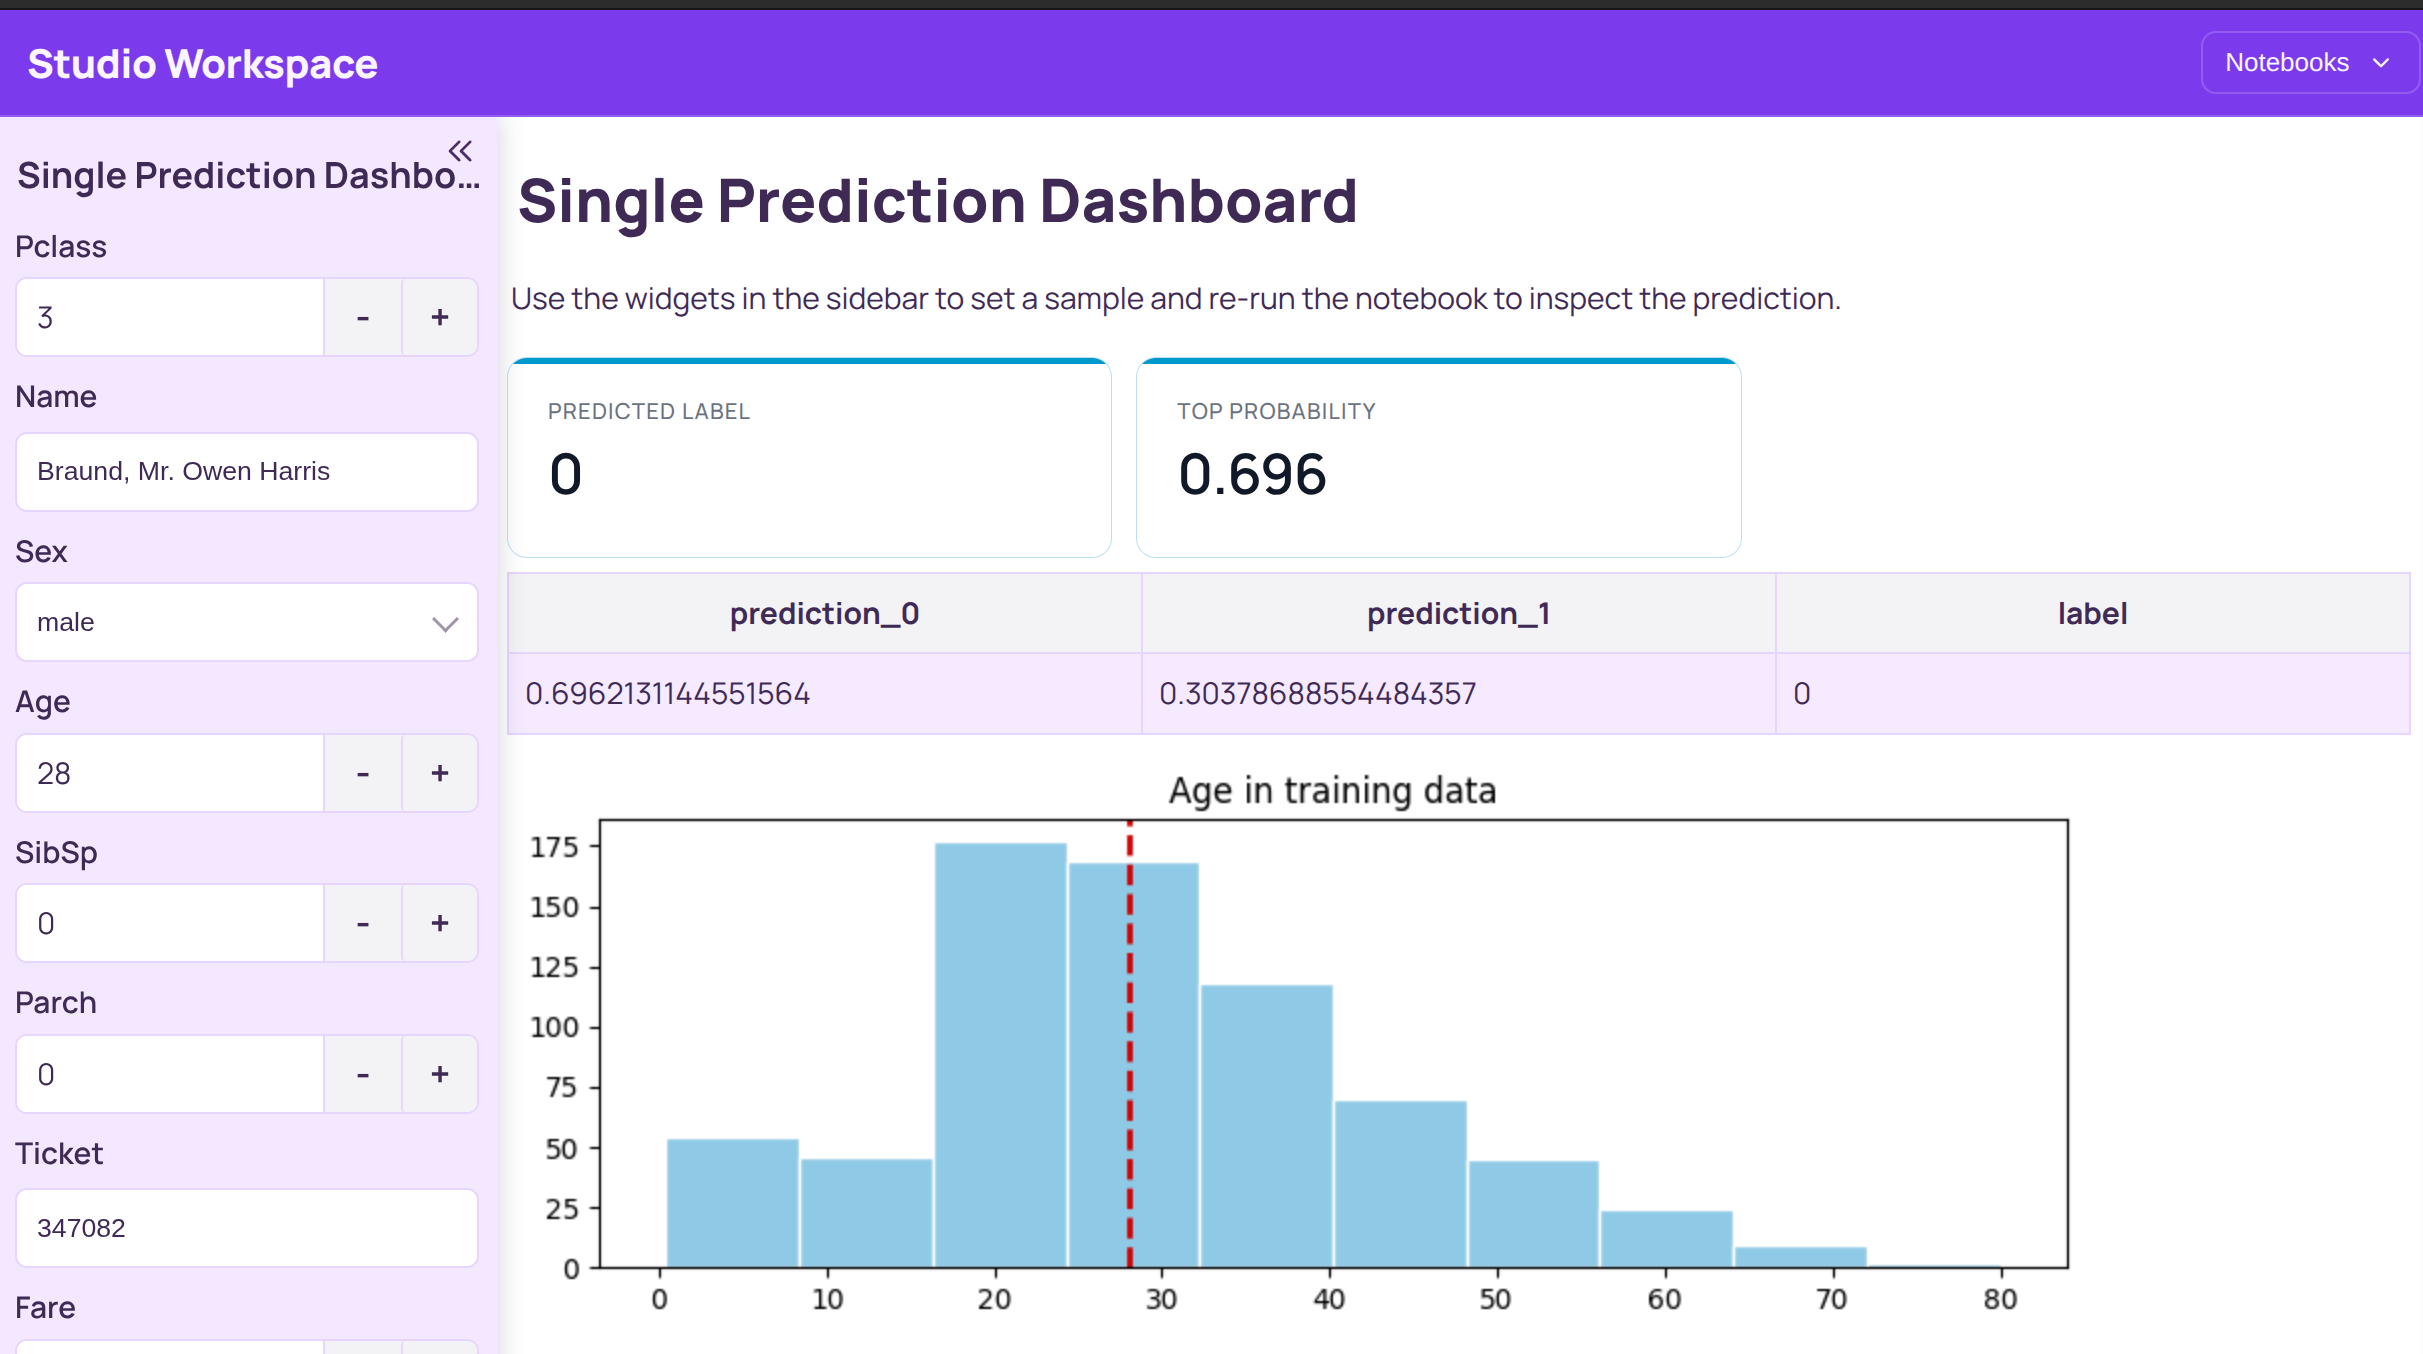
The same notebook structure can suit analytics, AI support, or teaching. Theme tokens change the presentation without changing application logic.

Mercury web app rendered with the Corporate Blue style

Corporate Blue

Clean, professional analytics

Mercury web app rendered with the Dark Ops style

Dark Ops

Dark, high-contrast interface

Mercury web app rendered with the Pastel Studio style

Pastel Studio

Soft, friendly styling

Control access

Authentication and access control

Start with a shared password for a small audience, then move to individual accounts when access needs become more granular.

Password protection is built in

One flag is enough for an internal analysis, a client demonstration, or a teaching cohort where everyone can use the same password.

mercury --pass=your-secret-here

When one shared password is not enough

User-based authentication adds individual accounts, making it possible to revoke one person's access without changing credentials for everyone. It is a paid add-on available for self-hosted and Cloud deployments.

Contact MLJAR for details
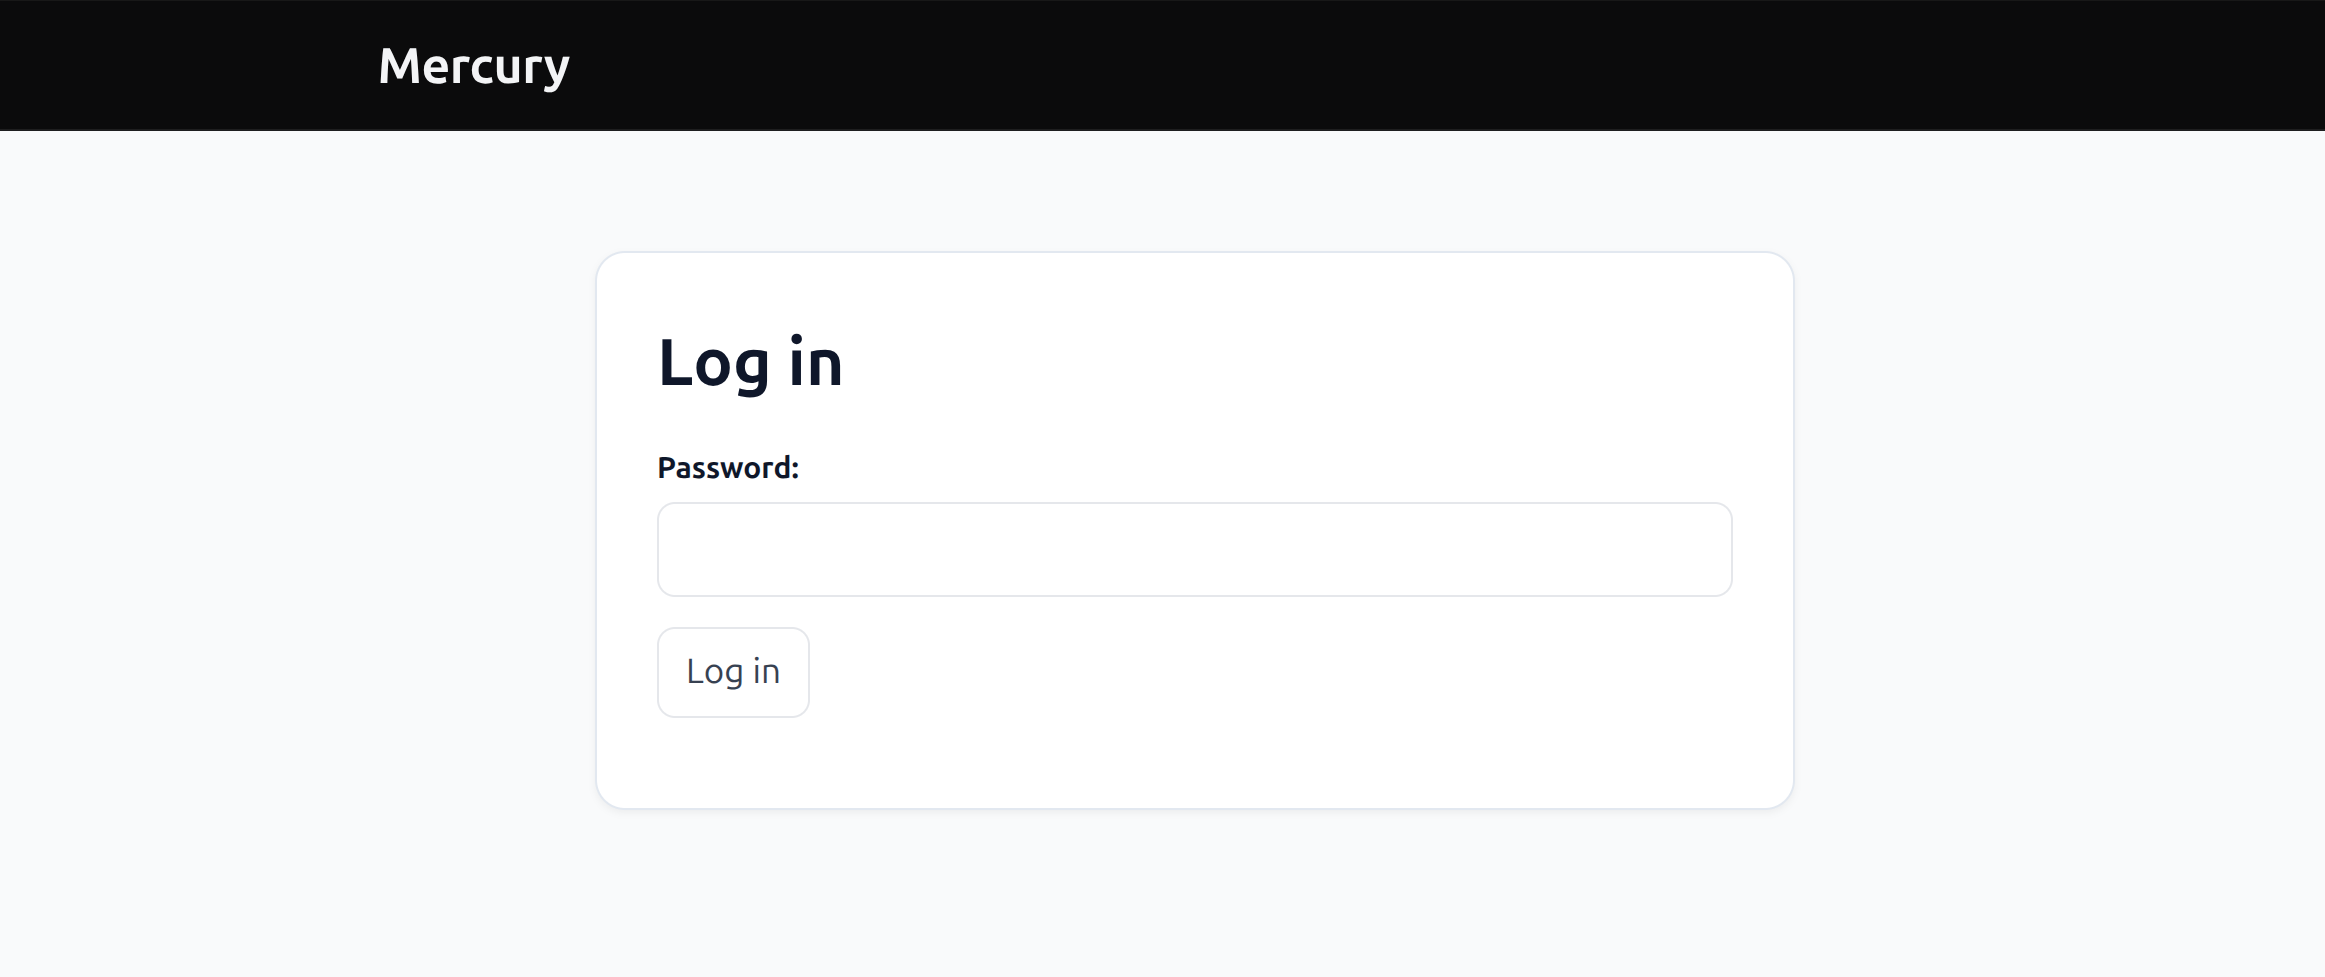
Mercury password login screen

Share the application

Deploy with Docker or MLJAR Cloud

Two ways to put your app online. New to deployment? Start with MLJAR Cloud — it's the fastest way to a shareable link, with no servers to manage.

MLJAR Cloud

Fastest

Managed hosting — nothing to install or configure. Pick this if you just want a link to share.

  1. 1Sign in to MLJAR Cloud
  2. 2Click Deploy
  3. 3Share your live link
Deploy to Cloud

Docker

Full control

Host it yourself, free and open source. Pick this for private, internal, or fully custom setups.

  1. 1Build the Docker image
  2. 2Run the container
  3. 3Set the host and port
Docker guide
Dockerfile
FROM python:3.12-slim # Install Mercury RUN pip install mercury # You can also install needed packages here, # For example install pandas # RUN pip install pandas # Directory where notebooks will be mounted WORKDIR /workspace # Mercury default port EXPOSE 8888 # Start Mercury server CMD ["mercury", "--ip=0.0.0.0", "--no-browser", "--allow-root"]

The Docker path uses one small Dockerfile — copy it and build.

A deployed Mercury app running as a shareable web page
Either way, your visitors just open a link — no Python, no notebook, and nothing to install on their side.

FAQ

Common questions

Do I need to know HTML, CSS, or JavaScript?+

No. Mercury generates the layout and styling from your notebook and widgets, so the interface is written in Python.

Does live preview work in Google Colab or VS Code?+

No. Mercury live preview currently works in JupyterLab and MLJAR Studio, but not in Google Colab or VS Code.

Is Mercury free?+

Yes. Mercury is Apache-2.0 licensed and free to self-host with Docker. MLJAR Platform also has a free publishing plan, with paid tiers for higher limits and private application capacity.

Can I password-protect my app?+

Yes. Shared-password protection is built in and enabled with one command-line flag. User-based, multi-account authentication is a separate paid add-on.

Can I change how my app looks?+

Yes. You can adjust the title, colors, favicon, code visibility, and layout. App-wide branding is configured in config.toml, while notebook appearance can be adjusted from the preview toolbar.

How is this different from Streamlit?+

Streamlit reruns the app script after an interaction. Mercury runs from a notebook and recomputes the cells below the changed widget. Read the full Mercury vs Streamlit comparison.

Does Mercury work with existing Jupyter widgets?+

Yes. Mercury can serve notebooks that use ipywidgets and compatible Jupyter widget libraries. Mercury also provides its own reactive widgets for automatically rerunning downstream cells. Compare Mercury and Voilà in detail.

Build your first Mercury app

Add one line to the notebook you already know, then open the live preview.

import mercury as mr