The 4 ways to install Jupyter Notebook
Jupyter Notebook is a powerful tool that can mix code and Markdown. It provides fast feedback for code snippets execution which makes it perfect for data analysis and experimenting. It is a development environment of choice for many data scientists, machine learning practitioners, and software developers. In this article, we will check different ways how to install Jupyter Notebook on your local machine.
It is worth mentioning that Jupyter Notebook is a web application. It is built on top of Tornado web framework. When starting the Jupyter Notebook locally, in fact, you start a local web server. In most cases, you start it locally.
Operating System and Package Manager
First of all, do you have Python installed? The easiest way to check that is to open your terminal (console) and execute the command:
python --version
If you get the output like:
Python 3.8.10
then you can continue to the next steps. If you have Python in version 2.* then please update it to 3.*. I would recommend Python 3.8 because most of the data science packages are working fine with it. If you install too fresh Python version (at the time of writing it is 3.10) then some of the packages (even popular) might not work.
If you have Python installed, then the next step is to check the package manager. Please run
pip --version

# and

conda --version
On my system (Ubuntu) the pip returned version 20.0.2 and conda showed command not found. You should use installation commands depending on the package manager available. My personal choice is to use pip on Linux and macOS machines and conda on Windows machines.
1. Install with pip
If you have a pip package manager, then installation of the Jupyter Notebook is simple:
pip install notebook
Please notice that the above command will install the Jupyter at system paths - you might need to run this command with administrator rights (for example sudo)! To start Jupyter Notebook, please run the command:
jupyter notebook
It will start a Jupyter Server at the current directory and show all files in the Jupyter Notebook. The Jupyter should be available in the web browser, typically at http://localhost:8888/tree.
2. Install with pip in virtualenv
You can install the Jupyter Notebook in a virtual environment (that's my preferred way). First, set the virtual environment and activate it:
# create virtual environment
virtualenv myvenv

# activate
source myvenv/bin/activate
To install Jupyter Notebook:
pip install notebook
The Jupyter Notebook will be installed in the virtual environment, so it will be accessible only after environment activation. The last step is to set the virtual environment as a Jupyter kernel:
python -m ipykernel install --user --name=myvenv
The above command will add a virtual environment as a Jupyter kernel. When creating a new notebook, please select the kernel with myvenv name.
3. Install Jupyter Notebook with conda or Anaconda
If you don't have Python installed, the good solution might be to use Anaconda. The Anaconda will install Python (please check what version you are downloading), and it has an application for packages management called Anaconda Navigator. You can search for Jupyter Notebook and install it with one click.
If you have Python already installed and conda available, please install Jupyter Notebook with:
conda install -c conda-forge notebook
4. Install JupyterLab Desktop App
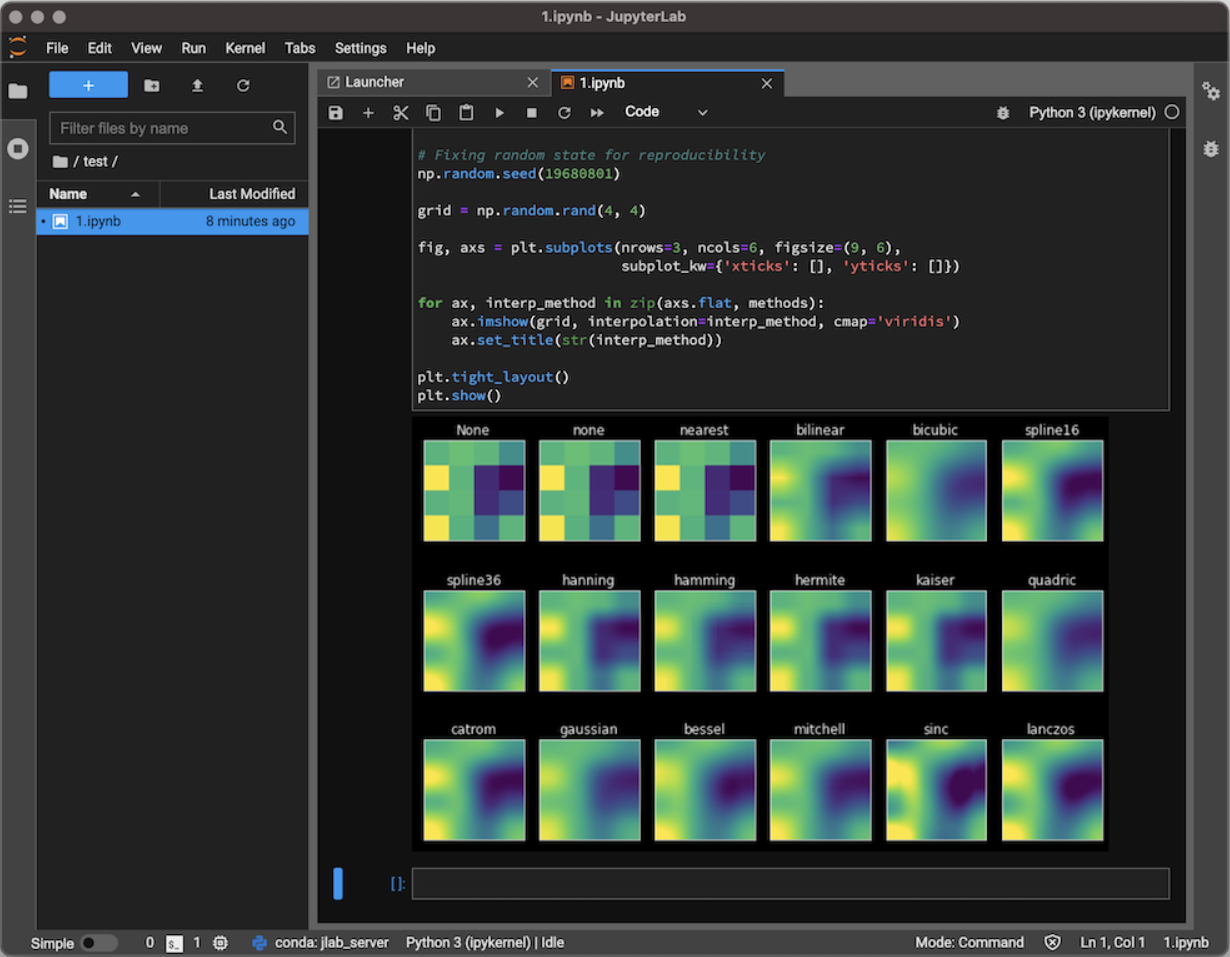
The JupyterLab is the next version of the Jupyter Notebook. It is available as a web application similar to Jupyter Notebook. The installation process is very similar, just replace notebook with jupyterlab in all the above commands. However, there is one big difference! The JupyterLab is also available as a classic desktop application. Yes, you just download the installer. Install the application on your computer, you got a shortcut that double-clicked will open a JupyterLab app. Moreover, you can double-click on the selected notebook file on the disk which will open with JupyterLab. This is amazing!

JupyterLab Desktop comes with Python included and additional packages commonly used in Data Science, like NumPy, Pandas or matplotlib (all installed with the app). The additional packages can be installed from the notebook in the app by writing:
%pip install <package_name>
The JupyterLab application is built with the Electron framework based on the web version (take the web version and create a desktop app with Electron). It is available for operating systems: Windows, macOS, and Linux. This is a very nice alternative for a web-based notebook. I hope that in the future, the desktop app will be further developed.
Summary
The Jupyter Notebook is a great development environment. Its installation, packages, and kernel management can be cumbersome - but only at the beginning! When you are used to it, you will have a very powerful tool on your workbench. Good luck!
Please subscribe to the newsletter below if you have any questions or need help. In the form, you can leave feedback, comment, or question. We do our best to respond quickly :)
About the Authors


Related Articles
- How to share Jupyter Notebook with non-programmers?
- The 4 ways to export Jupyter Notebook as PDF
- How to hide code in Jupyter Notebook?
- The 4 ways to insert images in Jupyter Notebook
- Build dashboard in Python with automatic updates and email notifications
- How to create a dashboard in Python with Jupyter Notebook?
- How to send email in Python? (the simplest approach)
- Dashboard for Data Drift Detection in Python
- Automated PDF Reports with Python
- The 3 ways to export Jupyter Notebook to HTML