Share Jupyter Notebook as web app
 Have you ever wanted to share your Jupyter notebook with non-programming friends? Would you like to hide the code, to not scare them? Give them the option to change the input with interactive widgets. In this post, I will show you how to easily share a notebook as an interactive web app with the Mercury framework.
Mercury
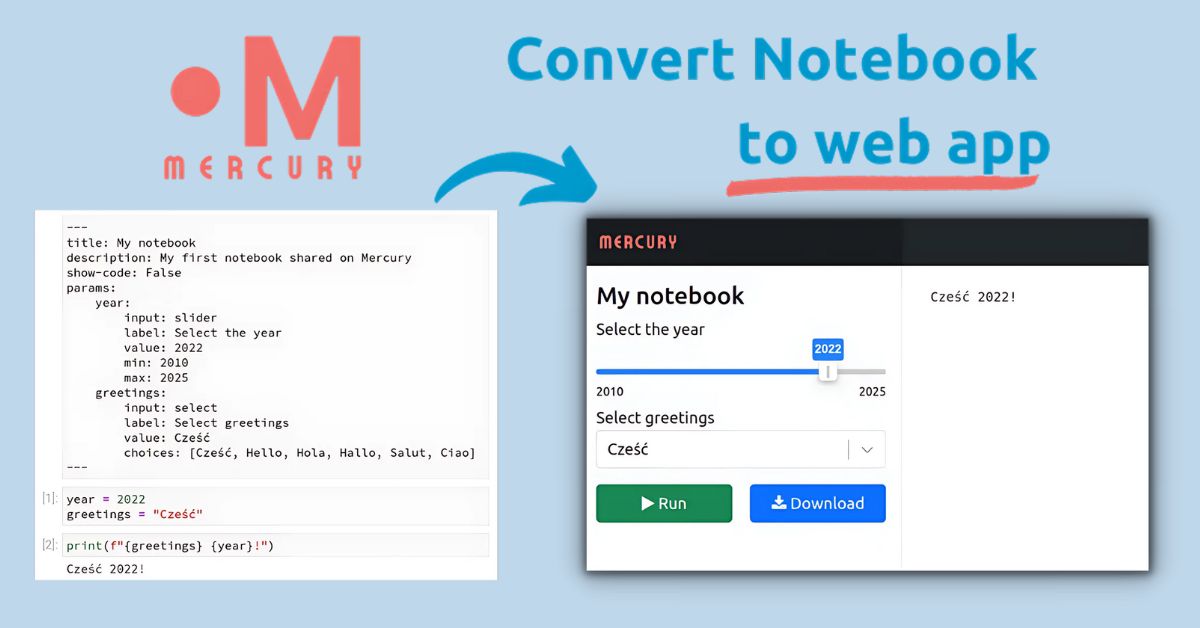
Mercury is an open-source framework that is perfect for sharing multiple notebooks as web applications. You can turn a notebook into a web app without changing any code in the notebook. You just need to specify a YAML header as a first raw cell.
You can read more about Mercury at GitHub: https://github.com/mljar/mercury.
In this post, I will show you step-by-step how to create a very simple notebook and deploy it with Mercury to Heroku (using free dyno).
Setup GitHub repo
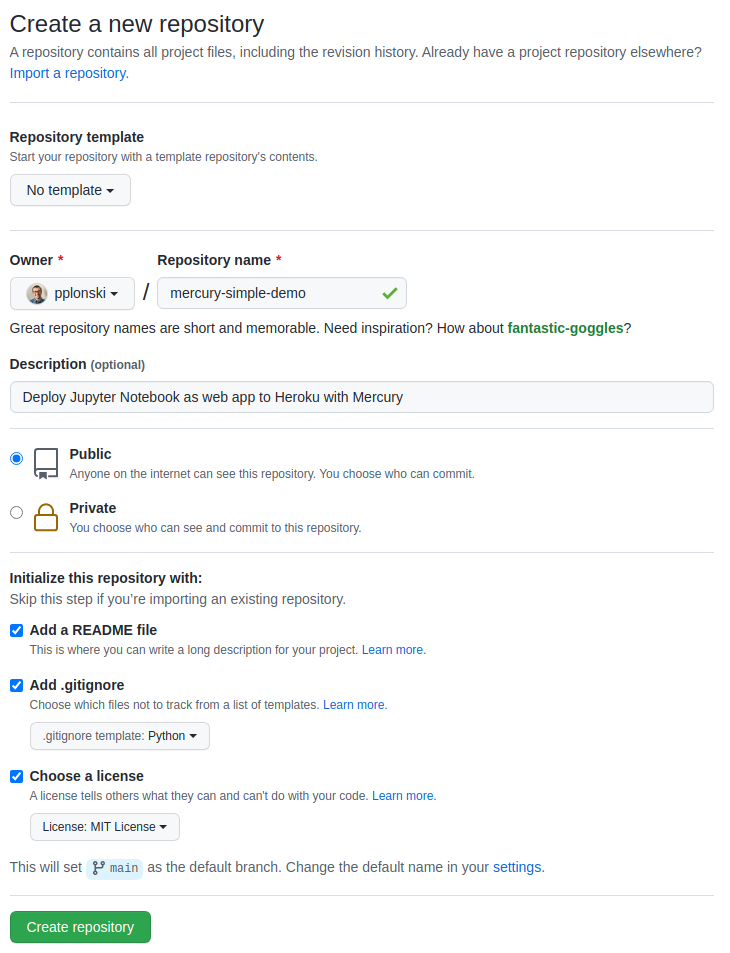
Please create a new repo for our project. You can do this by going to https://github.com/new. Below is my filled form to create the repo.
After repository creation, you should see a view similar to mine. Please click on a green Code button and copy the address to clone the repository.
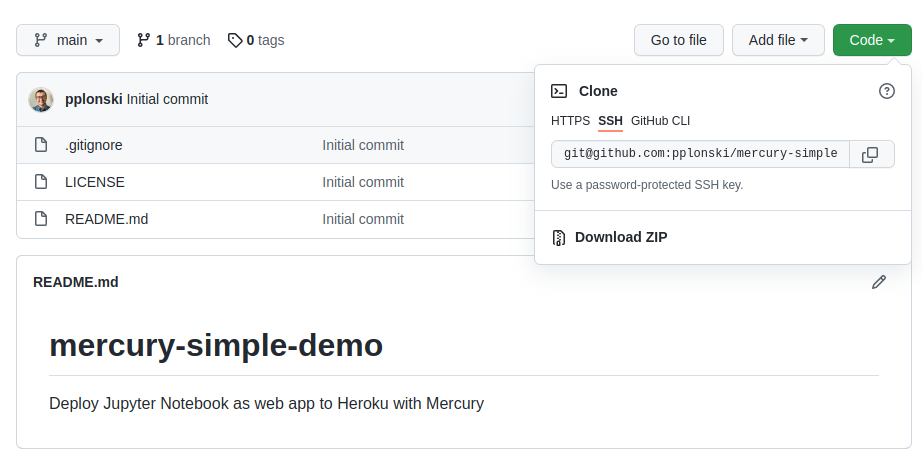
Clone the repository with the command:
git clone git@github.com:pplonski/mercury-simple-demo.git
Set virtual environment and install requirements
Let's change the directory to the project folder. We will use virtualenv to create a virtual environment for our python packages.
virtualenv simple_venv
source simple_venv/bin/activate
Let's create a requirements.txt file with the Mercury package:
mljar-mercury
Please install the needed package by running:
pip install -r requirements.txt
This should install the required packages and Jupyter Notebook. To use the new virtual environment in the Jupyter run:
python -m ipykernel install --user --name=simple_venv
Create demo Notebook
Please start Jupyter Notebook with the following command:
jupyter notebook
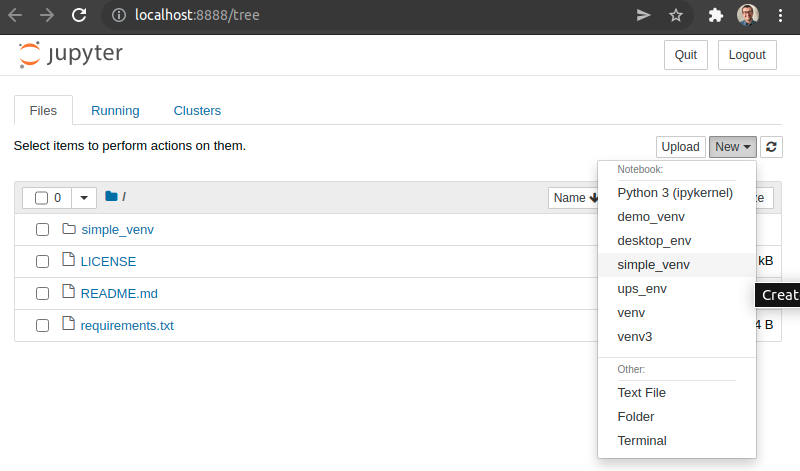
Let's create a new notebook. Remember to select a kernel with the name of the virtual environment.
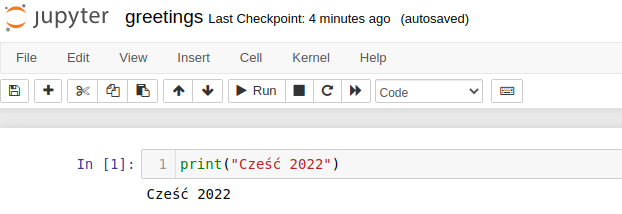
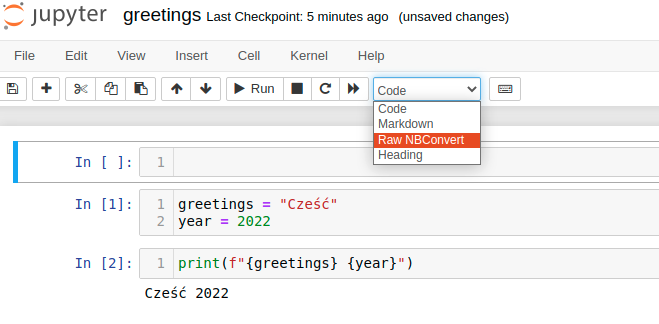
Change the name of the notebook by clicking the Untitled at the top. I set greetings as a new notebook name. It will be a very simple notebook. Please add a code:
print("Cześć 2022")
Run the cell by clicking the Run button in the top menu or by Ctrl+Enter. You should see
OK. Let's say our very simple notebook is ready. You would like to share it with friends. Your friends don't speak Polish, so they would like to see Hi instead of Cześć. What if your friends would like to use an application in other than the 2022 year?
Add parameters to notebook
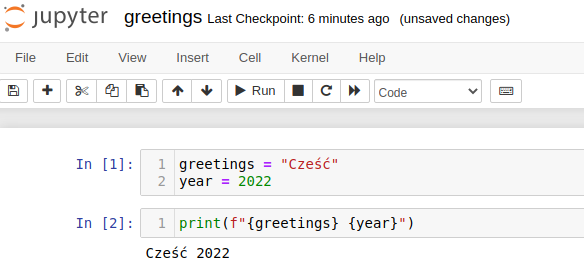
We need to parametrize our notebook. Let's add one more cell at the top (click Insert at the top menu). In the first cell we will define two variables:
greetings = "Cześć"
year = 2022
and our greetings message will be in the second cell:
print(f"{greetings} {year}")
It should look like below:
OK, so our notebook has two variables that can be changed, and the notebook can be executed. Is it ok to share it with friends? If they are comfortable with Python and Jupyter then yes. If they can't code and don't know Python, then Mercury is to the rescue.
Define widgets
We will use Mercury to convert our simple notebook to a web application with two interactive widgets. Let's start the Mercury in watch mode to see our app development. Please open a separate terminal in the project's folder and activate the virtual environment:
source simple_venv/bin/activate
Then start watch mode in Mercury:
mercury watch greetings.ipynb
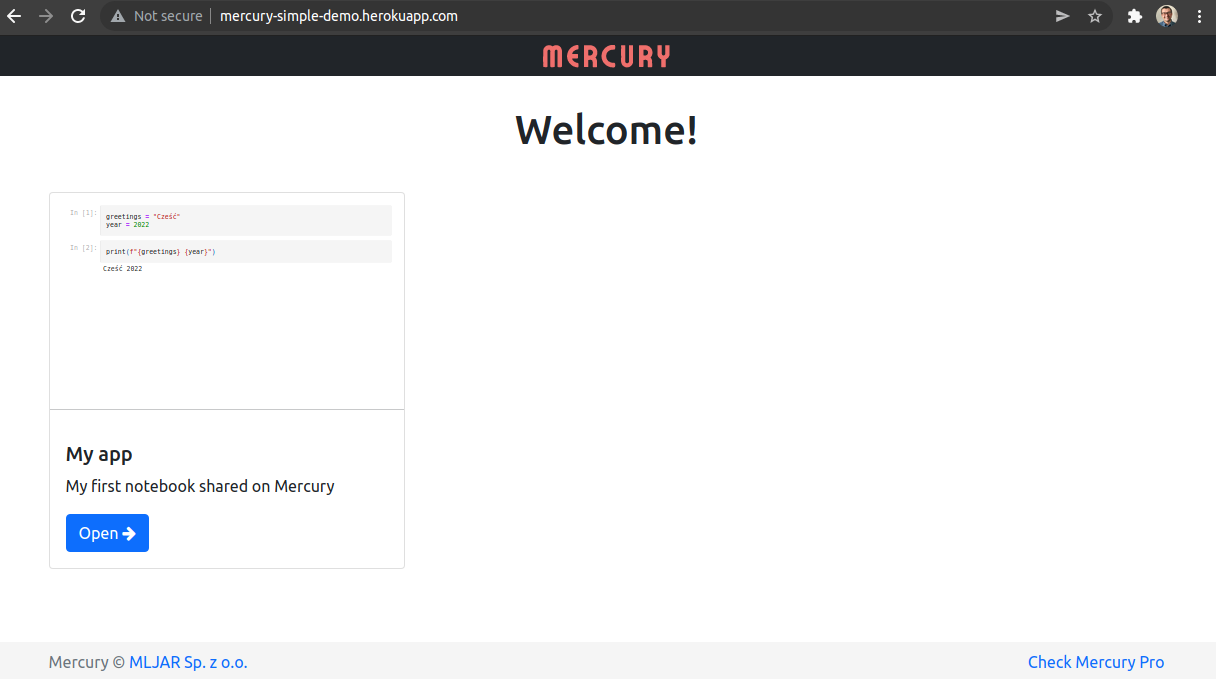
It will start the server at http://127.0.0.1:8000/. Please copy the address and paste it to your web browser. You should see your notebook.
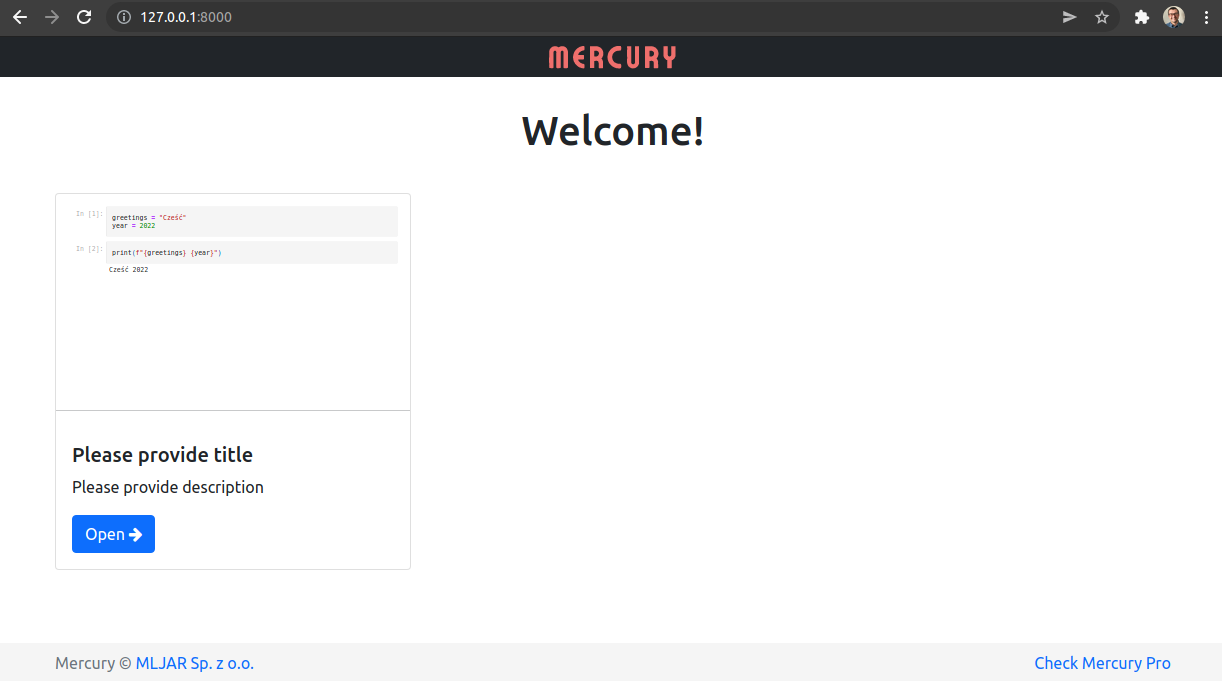
Please click Open button to see your notebook running as a web app. You should see view similar to the image below:
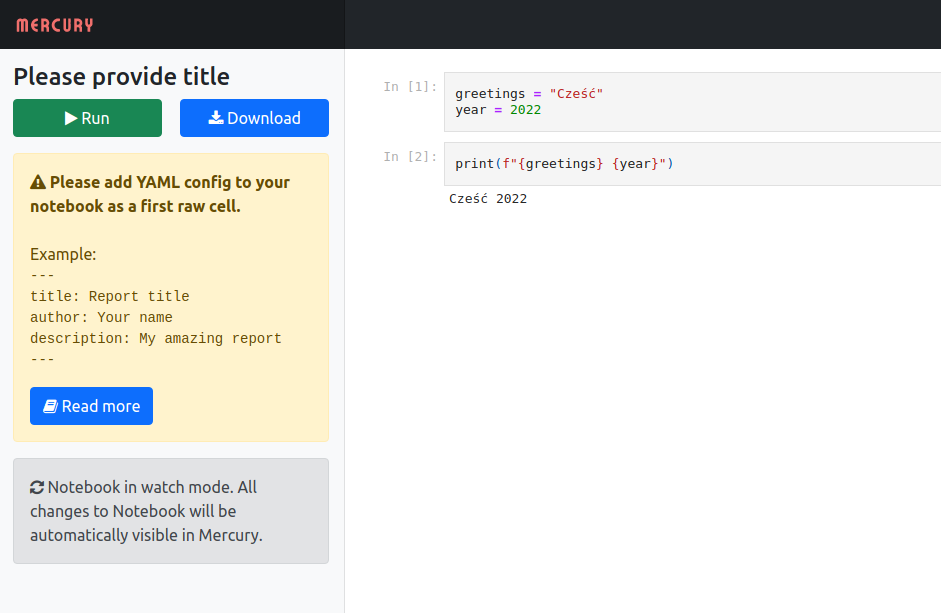
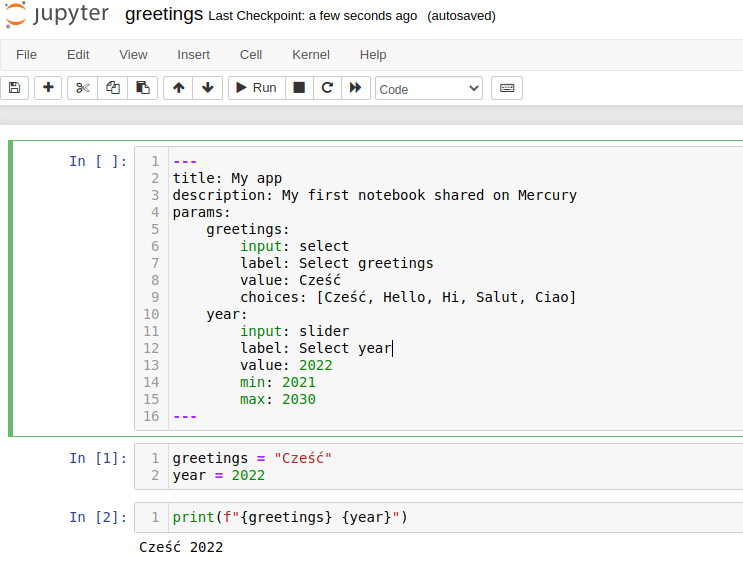
As you can see from the warning message, we need to define the YAML config in the notebook. Please go to the Jupyter tab and add a new cell at the top of the notebook.
Please set the raw cell content to:
---
title: My app
description: My first notebook shared on Mercury
params:
    greetings:
        input: select
        label: Select greetings
        value: Cześć
        choices: [Cześć, Hello, Hi, Salut, Ciao]
    year:
        input: slider
        label: Select year
        value: 2022
        min: 2021
        max: 2030
---
Your notebook should look like:
Your web app in Mercury should auto-refresh after you save the Notebook.
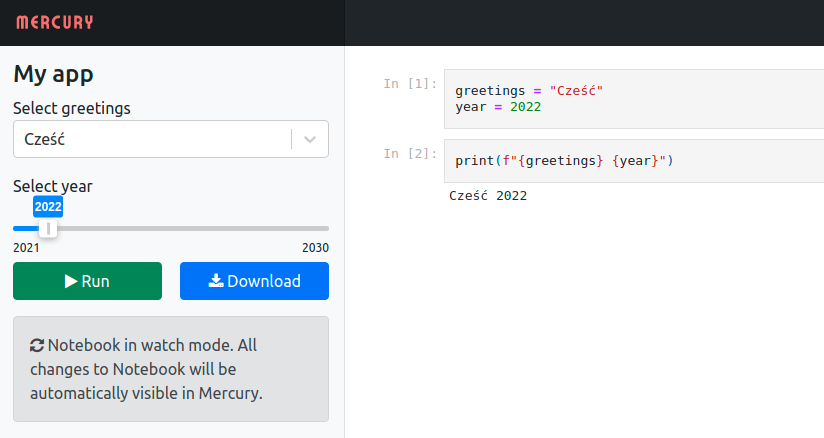
You can now change widgets' values and click Run to see recomputed values.
If you would like to hide the code, you can add the parameter show-code: False before params definition in YAML config. To read more about available widgets please check our readme in the Mercury repo.
Deploy to Heroku
I assume that you have Heroku account and a Heroku CLI installed. Please login to your Heroku account in the command line:
heroku login
Let's create a free dyno by running:
heroku create mercury-simple-demo
The string after the create command will be the URL address of your app. It should be unique across Heroku. If you just run heroku create then some random name will be generated.
We need to add a Procfile to the project. It will tell Heroku how to run our app. The Procfile will have only one line:
web: mercury run 0.0.0.0:$PORT
OK, let's add our files to GitHub:
git add greetings.ipynb
git add requirements.txt
git add Procfile
git commit -am "initial commit with simple notebook"
git push
Now we are ready to deploy to Heroku:
git push heroku main
Please wait for a little till all packages are installed. And that's all! Our notebook should be running as a web app available to others.
My is running at http://mercury-simple-demo.herokuapp.com/.
Thank you!
My repository with a simple notebook: https://github.com/pplonski/mercury-simple-demo
The Mercury GitHub repository: https://github.com/mljar/mercury
Explore next
Continue with practical guides, tutorials, and product workflows for Python, AutoML, and local AI data analysis.
- AI Data Analyst
Analyze local data with conversational AI support and notebook-based, reproducible Python workflows.
- AutoLab Experiments
Run autonomous ML experiments, track iterations, and inspect results in transparent notebook outputs.
- MLJAR AutoML
Learn how to train, compare, and explain tabular machine learning models with open-source automation.
- Machine learning tutorials
Step-by-step guides for beginners and practitioners working with Python, AutoML, and data workflows.
Run AI for Machine Learning — Fully Local
MLJAR Studio is a private AI Python notebook for data analysis and machine learning. Generate code with AI, run experiments locally, and keep full control over your workflow.
About the Author

Related Articles
- The next-generation of AutoML frameworks
- MLJAR Studio a new way to build data apps
- Read Google Sheets in Python with no-code MLJAR Studio
- How to authenticate Python to access Google Sheets with Service Account JSON credentials
- Python Virtual Environment Explained
- File upload widget in Jupyter Notebook web app
- Build Computer Vision Web App with Python, OpenCV and Mercury
- Develop NLP Web App from Python Notebook
- The 2 alternative approaches for Jupyter Notebook widgets
- The ipynb Jupyter Notebook File Extension