Cookbooks
Code recipes
Use recipes when you want task-specific snippets. For AI-first workflows, start with AI Data Analyst and return here when you need direct code examples.
Python code snippets
Markdown cheatsheet
Read data in Python
Write data in Python
Data wrangling in Python
Explore data
Scikit-learn recipes
LightGBM
AutoML in Python
Postgresql recipes
Python images operations using AI
Python code recipes for OpenAI
Python code recipes for Ollama
Python code recipes for PDF operations
Python code recipes for operations in Google Sheets
Http requests
Plugin Guide
Piece of Code - User Guide
What Piece of Code is
Piece of Code is a JupyterLab extension for reusable code snippets, cookbook management, and recipe-based code generation in notebooks. It helps data scientists, Python users, and notebook authors quickly find ready-made code recipes, organize them into cookbooks, and insert working code into Jupyter notebooks without writing everything from scratch.
You can use Piece of Code to browse built-in cookbooks, search recipes by task, add your own custom cookbooks, create editable code templates, and reuse parameterized snippets across everyday data analysis, machine learning, and automation workflows.
Cookbook- a collection of related code recipes in a specific category, for example reading data, data wrangling, or notebook automation.Recipe- a single reusable code snippet or code template, for example Read CSV, install a package, or generate a loop in Python.
Functionality
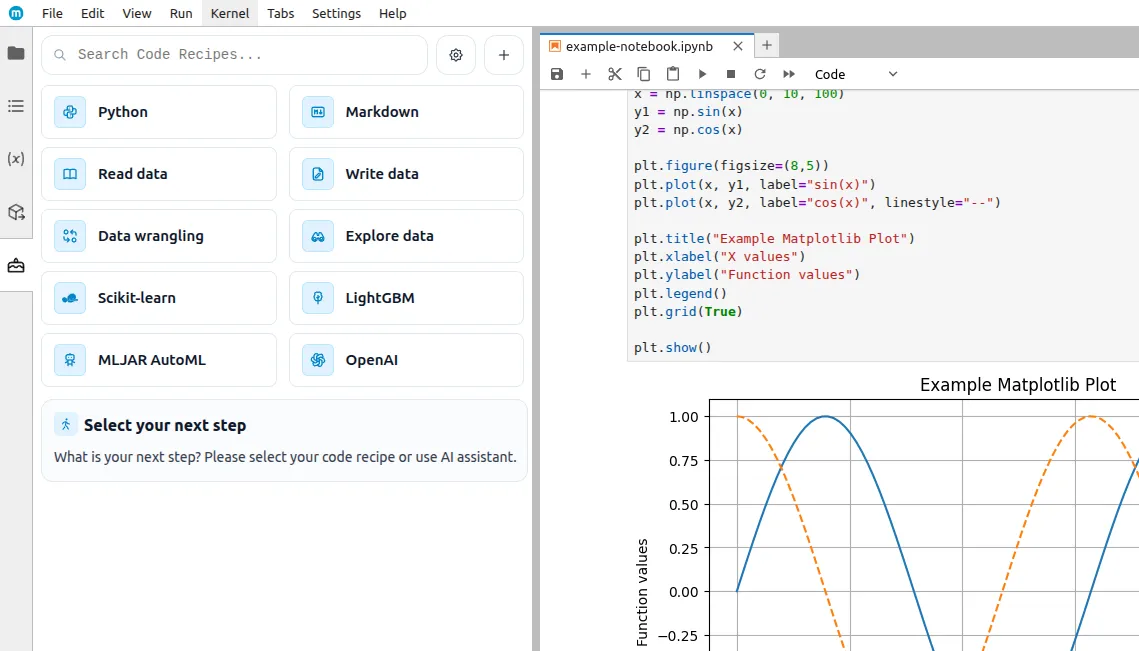
Search
In the top Search Code Recipe... field, you can search for recipes by name/description.
- When you enter a phrase, a list of matching recipes will appear.
- Clicking a recipe opens its preview/details.

Adding cookbooks
You can easily add a new custom cookbook, just click the Add cookbook button.
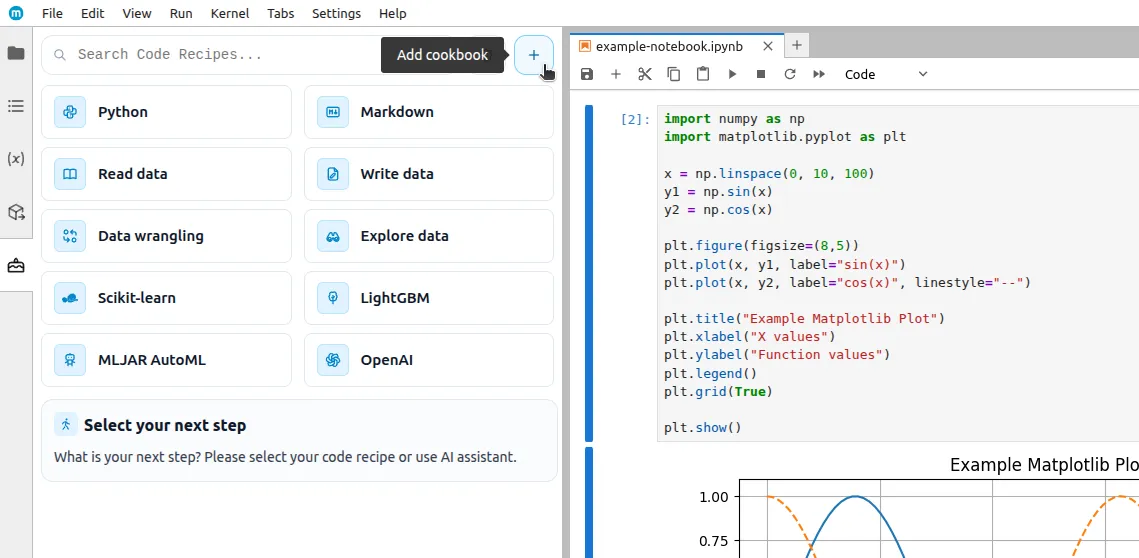
Then the cookbook creation view with a JSON schema to fill in will appear.
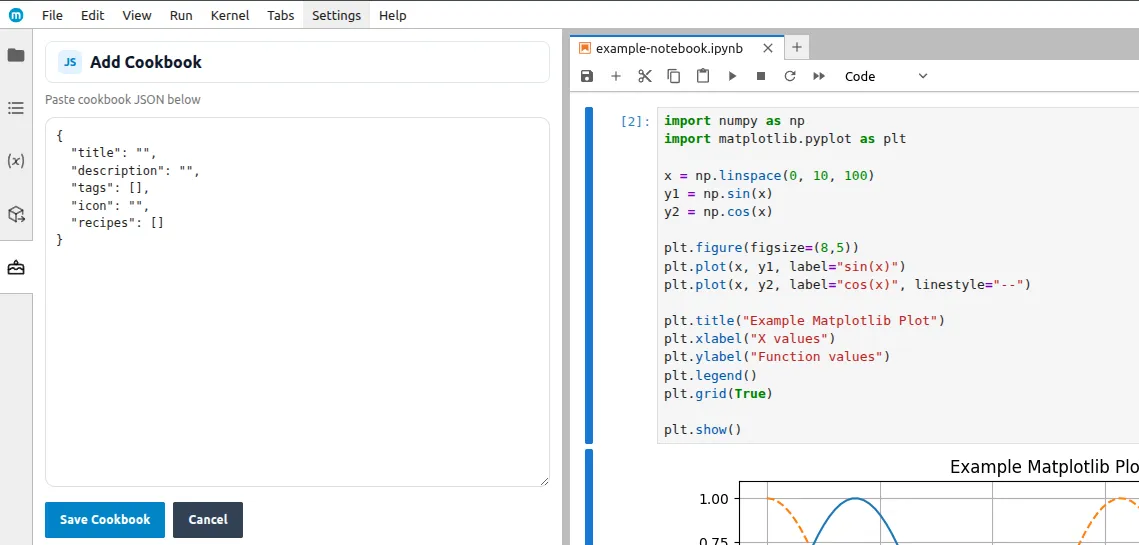
Parameter description
title- cookbook title (required field), e.g."Example cookbook"description- cookbook description, e.g."Example description"tags- cookbook tags that will be visible in the preview, e.g.["example", "cookbook"]icon- SVG icon code that will be visible next to the title (if empty, the default icon will be used)recipes- list of recipes, they can be added later
After filling in the schema, save the cookbook using the Save cookbook button.
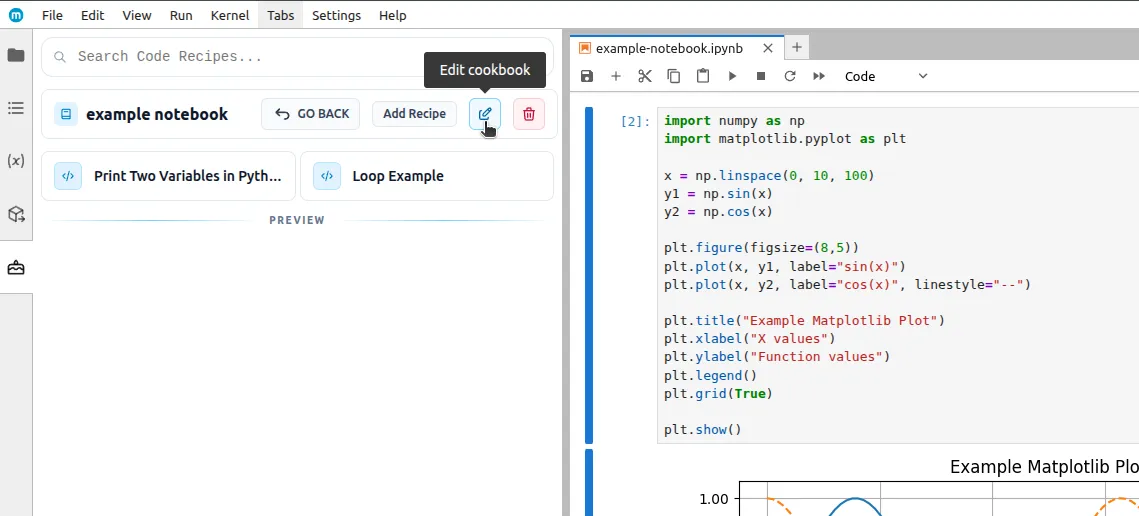
Editing cookbooks
After entering a cookbook you created yourself, it can be edited by clicking the Edit cookbook button in the top right corner.
JSON will be displayed, which can be edited according to the previous guidelines.
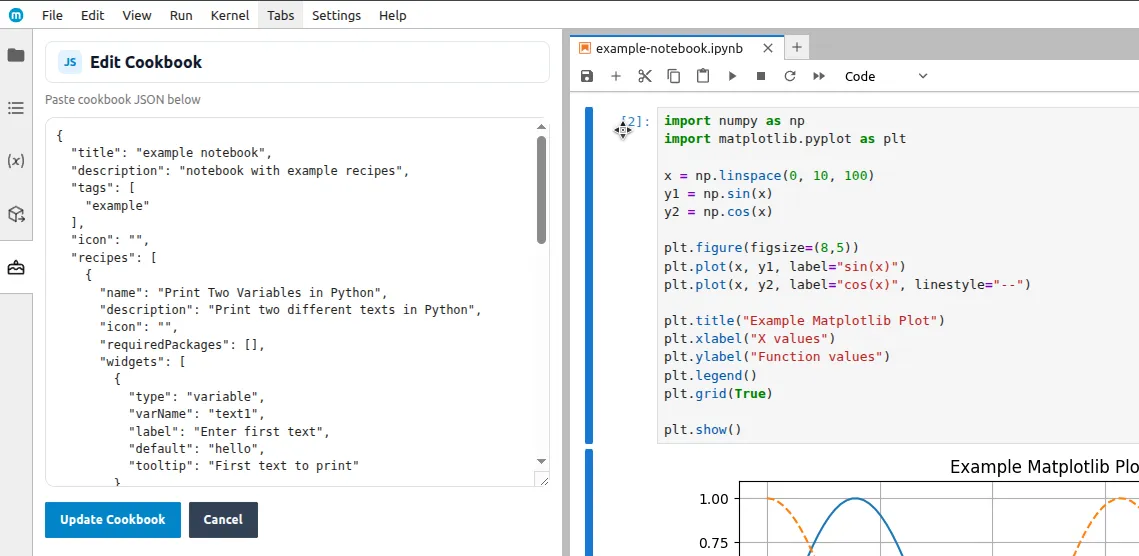
After finishing the edit, click the Update cookbook button to save the changes.
Deleting cookbooks
Just like in the case of editing, to delete a cookbook you need to open it. In the top right corner next to the edit button there is a Delete cookbook button.
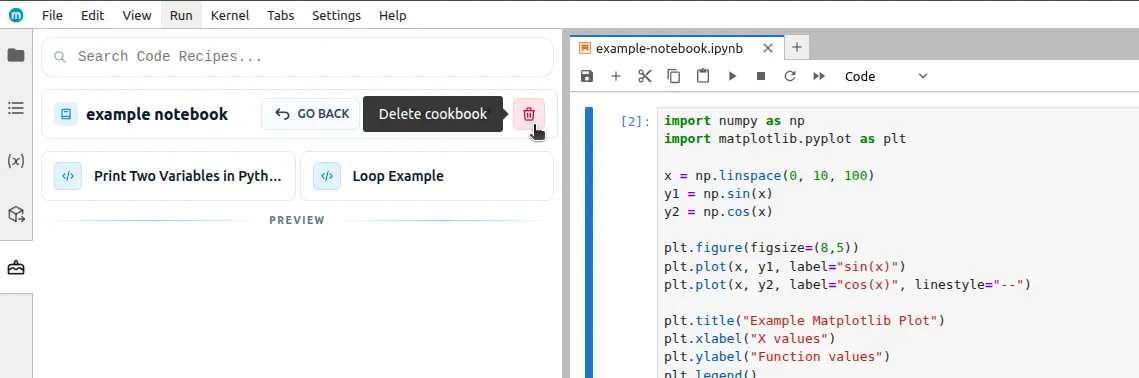
After clicking it, an additional confirmation dialog will appear to prevent accidental deletion.
Hiding cookbooks
There is an option to hide cookbooks. Hidden cookbooks will not be visible in the start view. To hide a cookbook, hover your mouse over its tile and then click the crossed-out eye icon.
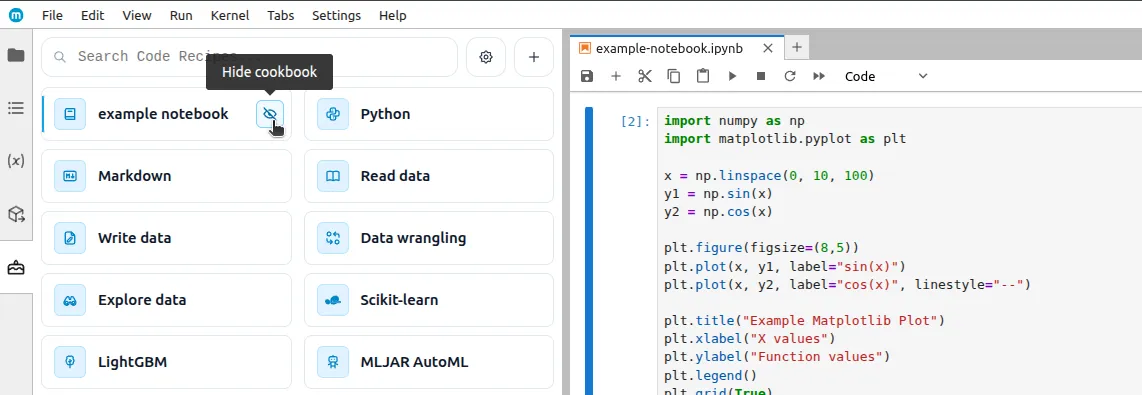
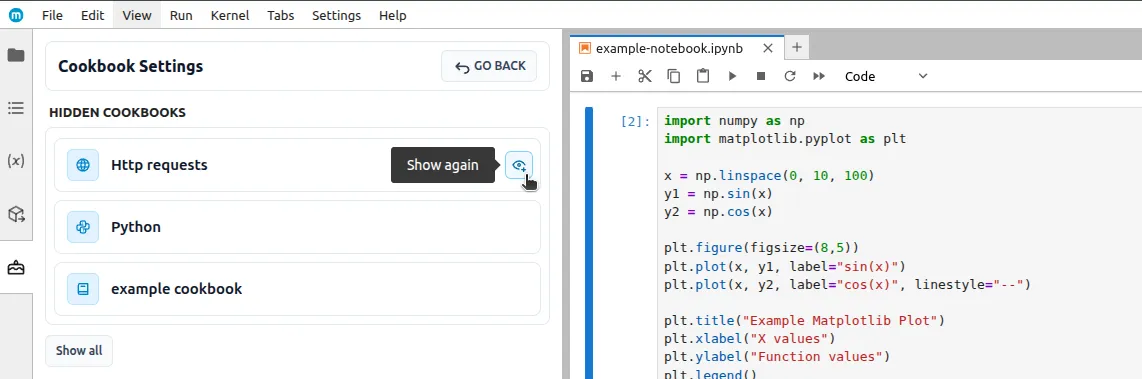
Hidden cookbooks can be restored at any time in the cookbook settings. To open them, click the Cookbook settings button.
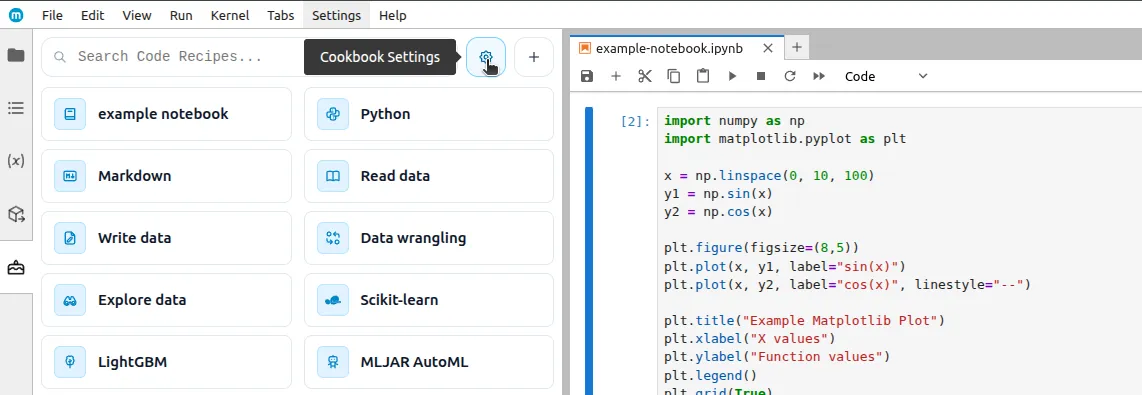
A view containing cookbook settings will appear. To restore a cookbook, click the Show again button (eye icon), which will be visible when you hover over the cookbook tile.
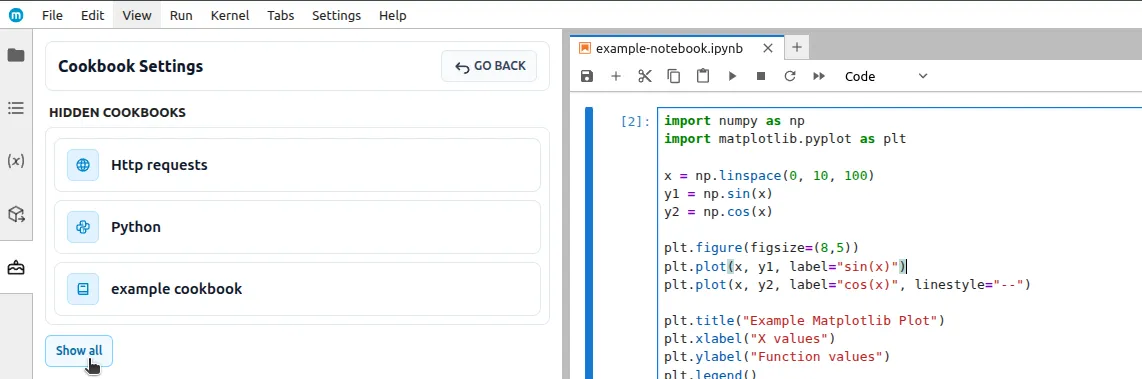
You can also restore all hidden cookbooks at once by clicking the Show all button.
Adding recipes
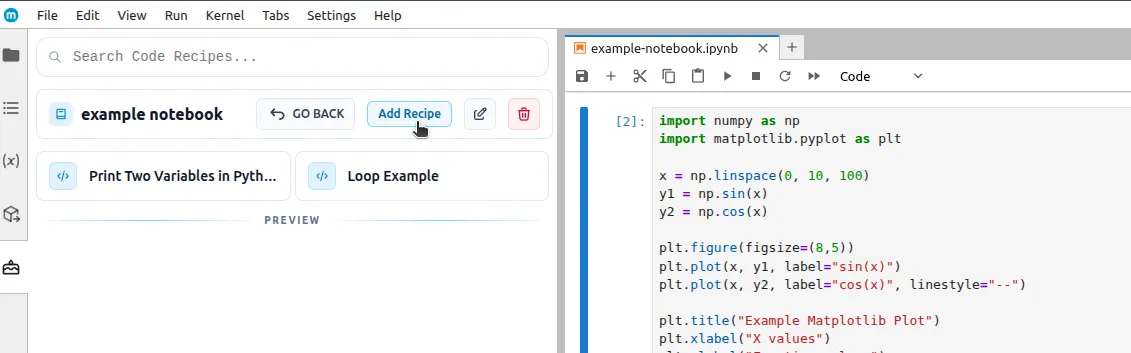
In cookbooks that you create yourself, you can also create recipes, just click the Add recipe button.
A JSON schema used for adding recipes will appear.
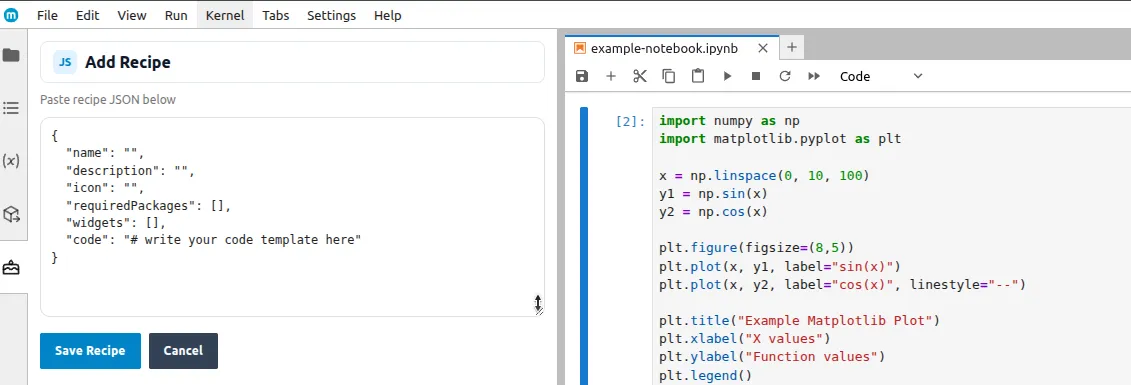
Parameter description
name- recipe name (required field), e.g."Example recipe"description- recipe description, e.g."Example description"icon- SVG icon code that will be visible next to the name (if empty, the default icon will be used)requiredPackages- packages required for the code included in the recipe to work, e.g.{"importName": "pandas", "installationName": "pandas", "version": ">=1.0.0"}widgets- an array of form interface elements such as text fields, numbers, toggles, or dropdown lists. They are used to collect user input needed to fill the recipe code.code- the recipe code template. It supports Nunjucks syntax (similar to Jinja), which allows you to insert into the code values defined in widgets.
How the widgets and code fields work
The widgets field defines the form that the user sees before inserting the code into the notebook. Each widget collects one value and stores it under the name from the varName field.
The code field is a code template. You can insert values from the form into the code using:
{{variableName}}- insert a single value, e.g.{{text}}{% if condition %} ... {% endif %}- conditional code fragments
In practice, the flow looks like this:
- You define widgets in
widgets. - You assign names to them through
varName. - You refer to those names in the
codefield.
Available widgets
Variable widget
This widget allows entering a string of characters.
Schema
{
  "type": "variable",
  "varName": "text",
  "label": "Enter text",
  "default": "example",
  "tooltip": "Text to print"
}
Usage in code
"code": "print(\"{{text}}\")"Numeric widget
This widget allows entering a number.
Schema
{
  "type": "numeric",
  "varName": "count",
  "label": "Enter number",
  "default": 3,
  "min": 1,
  "max": 10,
  "step": 1,
  "tooltip": "How many times?"
}
Usage in code
"code": "for i in range({{count}}):\n print(i)"Select widget
This widget allows selecting one value from a list.
Schema
{
  "type": "select",
  "varName": "loopType",
  "label": "Choose loop type",
  "default": "for",
  "options": [
    ["FOR", "for"],
    ["WHILE", "while"]
  ],
  "tooltip": "Choose one option"
}
Usage in code
"code": "{% if loopType == 'for' %}for i in range(10):\n print(i){% elif loopType == 'while' %}i = 0\nwhile i < 10:\n print(i)\n i += 1{% endif %}"Toggle widget
This widget allows setting a logical value of true or false.
Schema
{
  "type": "toggle",
  "varName": "showHeader",
  "label": "Show header",
  "default": true,
  "tooltip": "Turn header on or off"
}
Usage in code
"code": "{% if showHeader %}print(\"=== HEADER ===\")\n{% endif %}print(\"content\")"Textarea widget
This widget allows entering a larger block of text in a multiline field.
Schema
{
  "type": "textarea",
  "varName": "message",
  "label": "Enter message",
  "default": "line 1\nline 2",
  "tooltip": "Longer text input",
  "rows": 4,
  "wrap": "hard"
}
Usage in code
"code": "message = '''{{message}}'''\nprint(message)"Example recipes
JSON
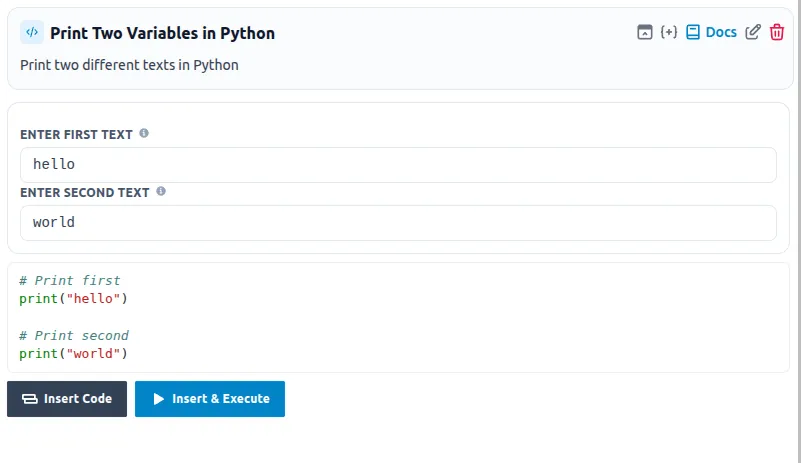
{
  "name": "Print Two Variables in Python",
  "description": "Print two different texts in Python",
  "icon": "",
  "requiredPackages": [],
  "widgets": [
    {
      "type": "variable",
      "varName": "text1",
      "label": "Enter first text",
      "default": "hello",
      "tooltip": "First text to print"
    },
    {
      "type": "variable",
      "varName": "text2",
      "label": "Enter second text",
      "default": "world",
      "tooltip": "Second text to print"
    }
  ],
  "code": "# Print first\nprint(\"{{text1}}\")\n\n# Print second\nprint(\"{{text2}}\")"
}
Preview
JSON
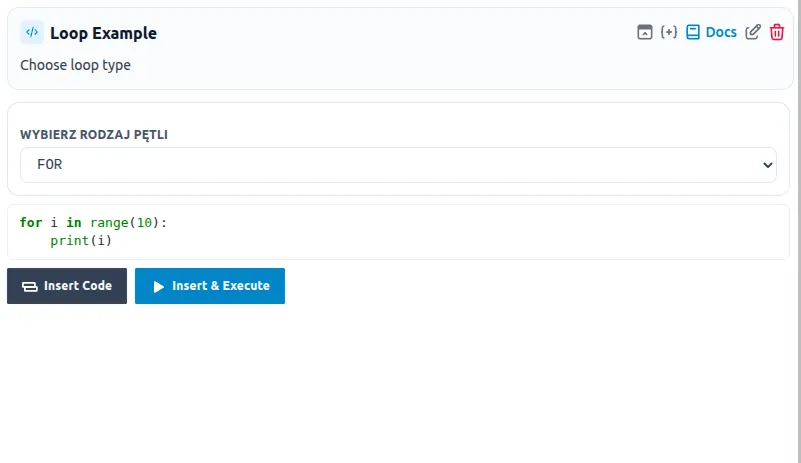
{
  "name": "Loop Example",
  "description": "Choose loop type",
  "icon": "",
  "requiredPackages": [
    {
      "importName": "pandas",
      "installationName": "pandas",
      "version": ">=1.0.0"
    }
  ],
  "widgets": [
    {
      "type": "select",
      "varName": "loopType",
      "label": "Choose loop type",
      "default": "for",
      "options": [
        [
          "FOR",
          "for"
        ],
        [
          "WHILE",
          "while"
        ]
      ]
    }
  ],
  "code": "{% if loopType == 'for' %}for i in range(10):\n    print(i){% elif loopType == 'while' %}i = 0\nwhile i < 10:\n    print(i)\n    i += 1{% endif %}"
}
Preview
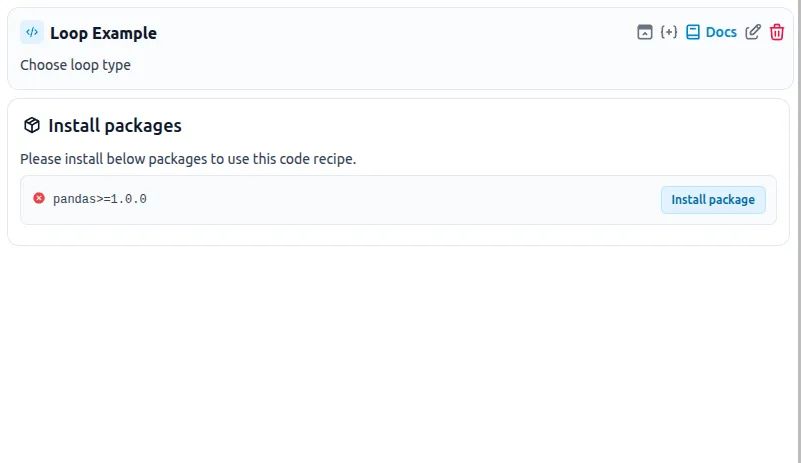
And after installing necessary package
Editing recipes
It is possible to edit specific recipes. After opening a recipe, click the Edit recipe button in the top right corner.
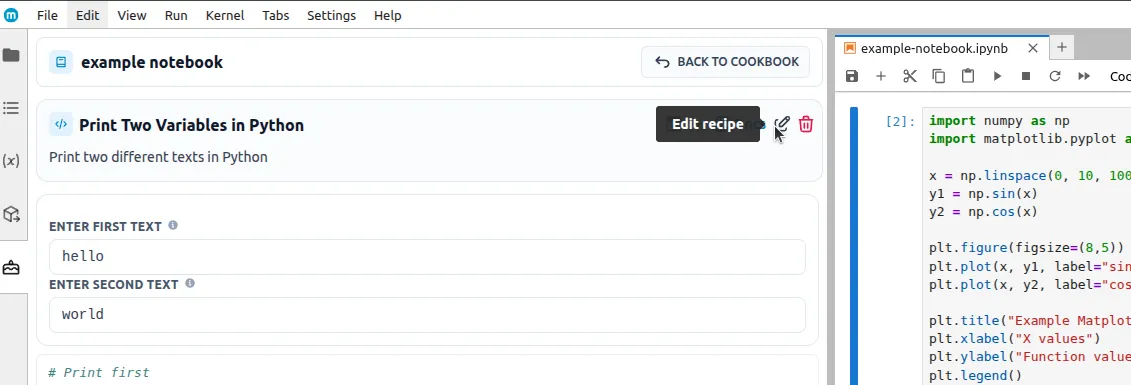
JSON will be displayed, which can be edited according to the previous guidelines.
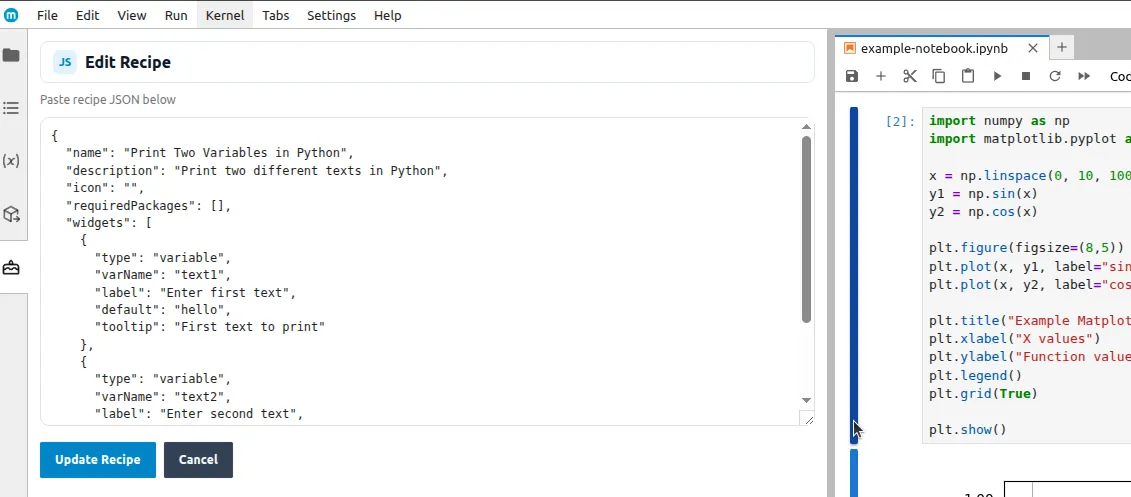
After finishing the edit, click the Update recipe button to save the changes.
Deleting recipes
Just like in the case of editing, to delete a cookbook you need to open it. In the top right corner next to the edit button there is a Delete recipe button.

After clicking it, an additional confirmation dialog will appear to prevent accidental deletion.
Short summary of features
In the new version you can:
- hide cookbooks,
- manage the list of hidden cookbooks in dedicated settings,
- add, edit, and delete custom cookbooks,
- add, edit, and delete custom recipes,
- conveniently move back and forth between the recipe and cookbook view.