The 5 ways to schedule Jupyter Notebook
Jupyter Notebook is an excellent tool for creating computational documents. The mix of code and markdown makes it perfect for creating data-rich reports, dashboards, and slides. There is often a requirement to update the notebook's results at a selected time interval and publish it to the rest of the team. For example, you must create a daily report from Jupyter Notebook and send it as a PDF file to team members by email.
In this post, I will summarize five different approaches for Jupyter Notebook scheduling. I want to cover the following features for each method:
- where the notebook is executed, locally or in the cloud,
- is User Interface for schedule management available?
- option to export notebook to HTML or PDF files,
- automatically send notebook as an attachment by email,
- share a link to the executed notebook,
- restrict access to the notebook for selected (authenticated) users,
- history of previous executions available in User Interface,
- parametrized executions with an option to override,
- hide code in the executed notebook,
- possibility to execute the notebook as slides.
1. Cron
Of course! The cron is a job scheduler on Unix-like operating systems. It can execute scripts and applications at fixed dates or periodic intervals. A crontab file controls it, with each file line containing the command to be executed. The command has a crontab string that defines the schedule on which the command will be executed. The example syntax is below, and you can read more about cron here.
# ┌───────────── minute (0 - 59)
# │ ┌───────────── hour (0 - 23)
# │ │ ┌───────────── day of the month (1 - 31)
# │ │ │ ┌───────────── month (1 - 12)
# │ │ │ │ ┌───────────── day of the week (0 - 6) (Sunday to Saturday;
# │ │ │ │ │                                   7 is also Sunday on some systems)
# │ │ │ │ │
# │ │ │ │ │
# * * * * * <command to execute>
The cron can be used to execute any script. It is far from a complete solution for Jupyter Notebook scheduling. You need to implement the whole system by yourself! In consolation, some packages are available to make your life a little easier. You can use amazing nbconvert or papermill for executing notebooks.
The nbconvert can execute the notebook and save it in many formats (HTML/PDF/LaTeX/Markdown). It offers the option to select which cells are executed and can hide the code when exporting to HTML or PDF.
The papermill is more advanced in terms of execution options. You can parametrize notebooks and send final notebooks to external storage, like AWS S3 or Azure data blobs.
The example crontab file that executes the notebook every day at 8:00 AM might look like this:
#
# example crontab
# executes the notebook every day at 8:00
#

0 8 * * * jupyter nbconvert --to html --execute /path/to/notebook.ipynb
The cron can be used locally or remote server. There is no User Interface available; everything is controlled by crontab file. Users that would like to share resulting notebooks by link (or email) with restricted access need to implement it by themself. It is a bare-bones solution. The cron should be used if you have very custom requirements and have time to implement a scheduling solution from scratch. It is a general-purpose scheduling tool without additional features for Jupyter Notebooks.
2. Windows Task Scheduler
The Windows Task Scheduler is the Windows operating system equivalent of Unix's cron. However, it has Graphical User Interface. You can use nbconvert or papermill on Windows systems.
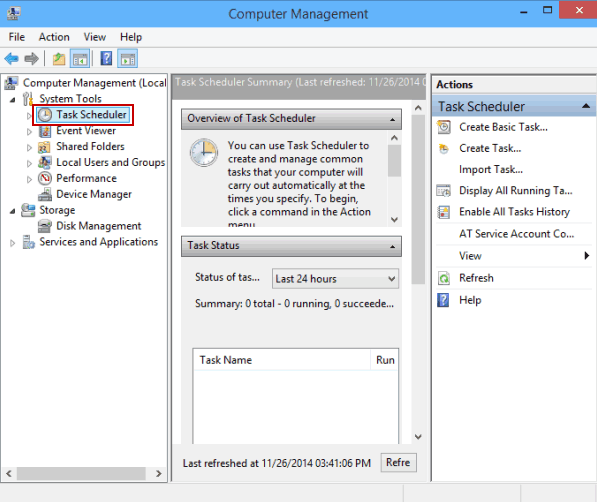
Similarly, as for cron, the Windows Task Scheduler is a general-purpose applications scheduler. It hasn't any features supporting Jupyter Notebook. All additional components need to be implemented manually. It might be a good solution for executing notebooks locally and consuming the output only by one person (local computer owner), as sharing will require custom implementation of the web server.
3. Notebooker
The Notebooker is open-source software for scheduling Jupyter Notebooks provided by Man Group (a financial company). It has AGPL-v3 license.
The Notebooker is a Flask based web application (using MongoDB as the backend's database) for scheduling and sharing Jupyter Notebooks. It provides a Graphical User Interface for managing Jupyter Notebooks.
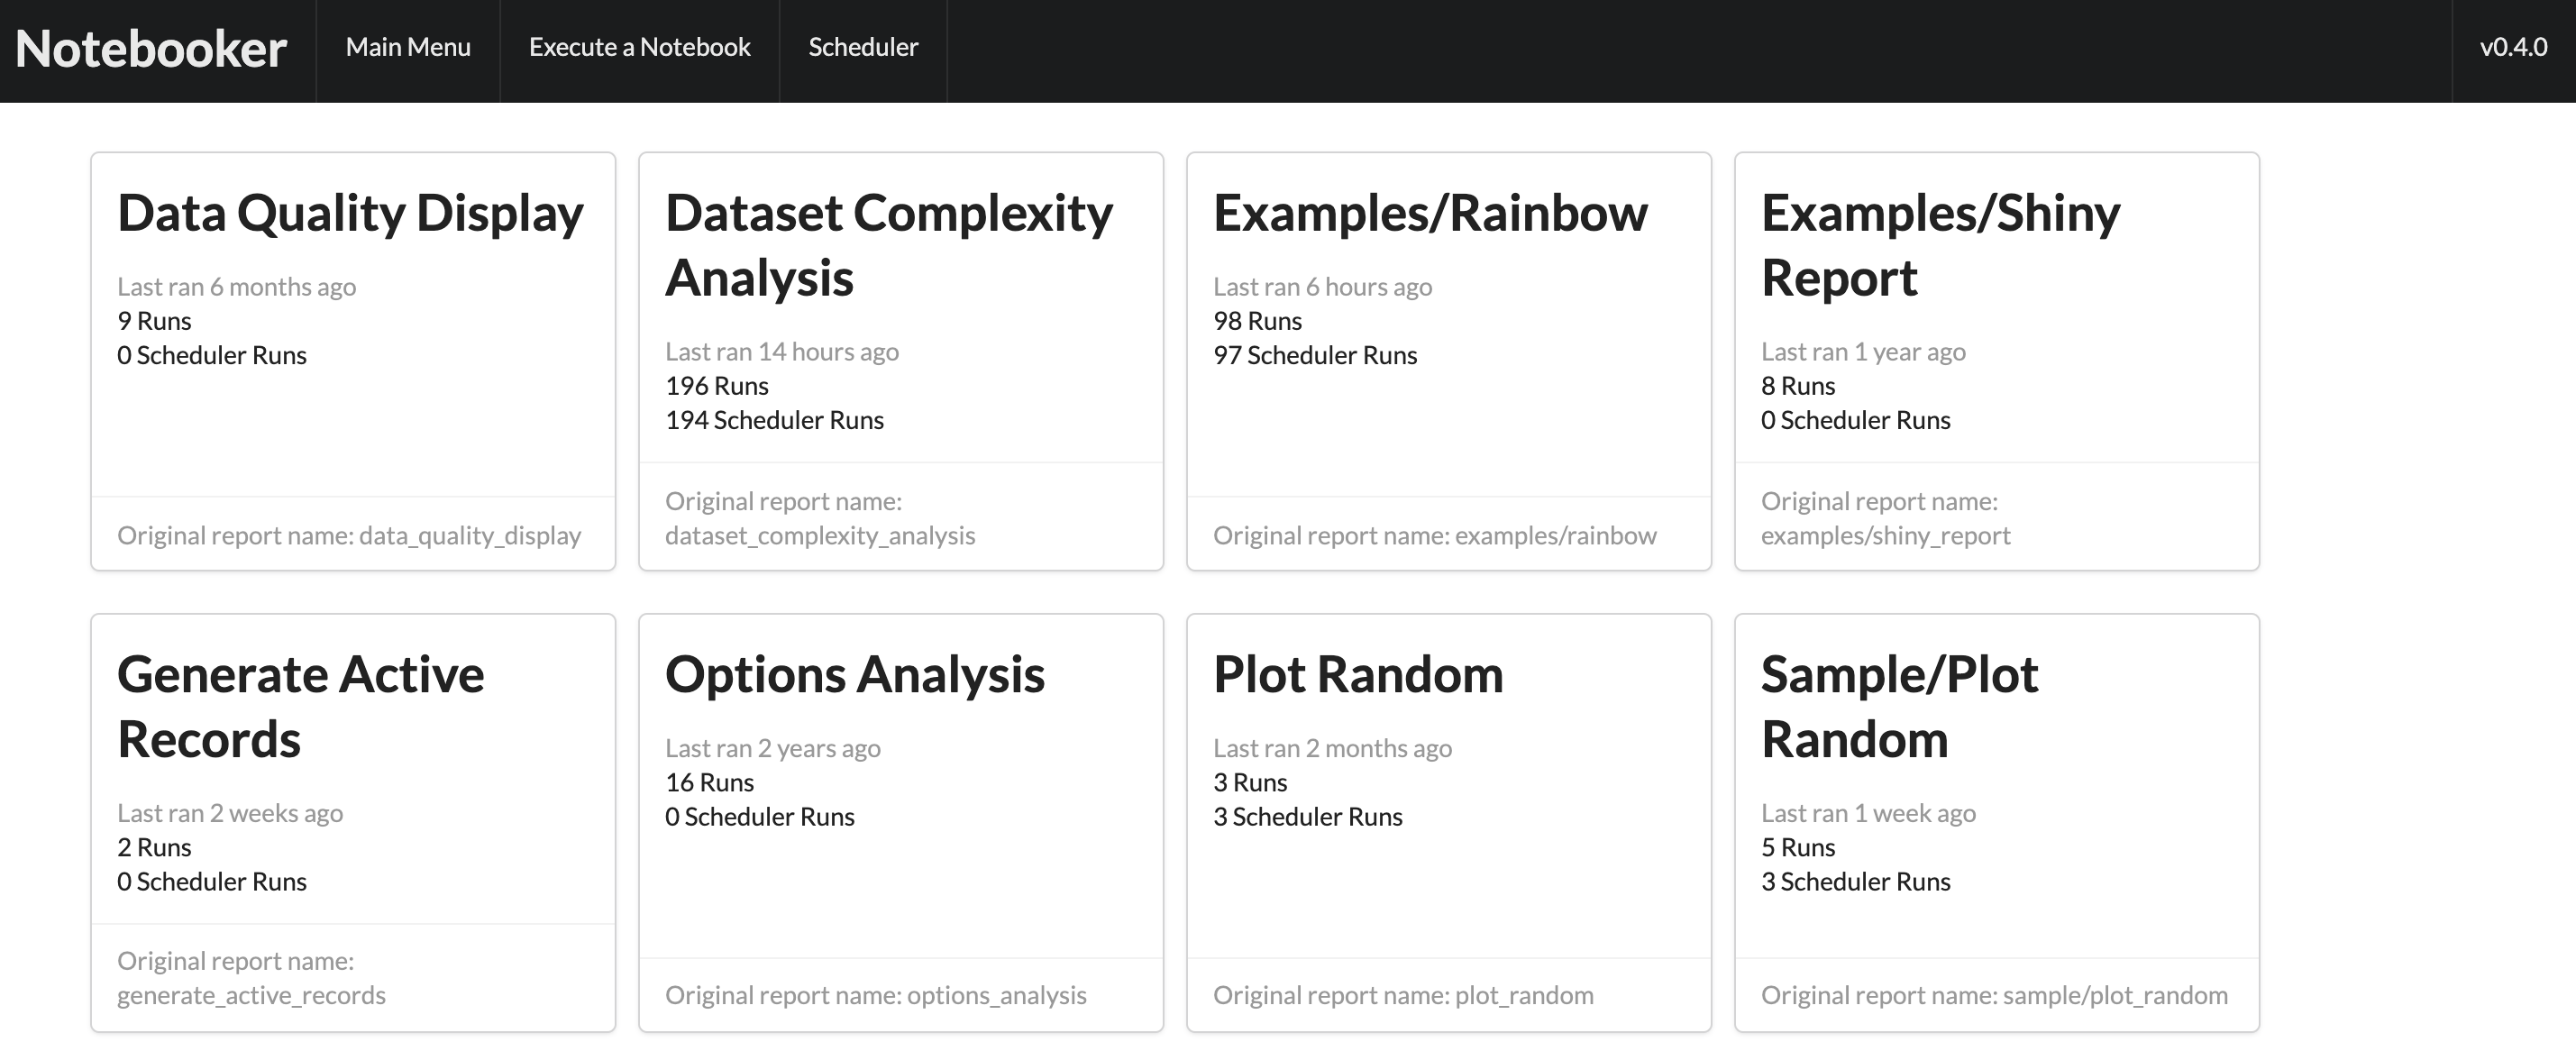
Each notebook has view with executed tasks. User Interface is available to rerun or delete a notebook:
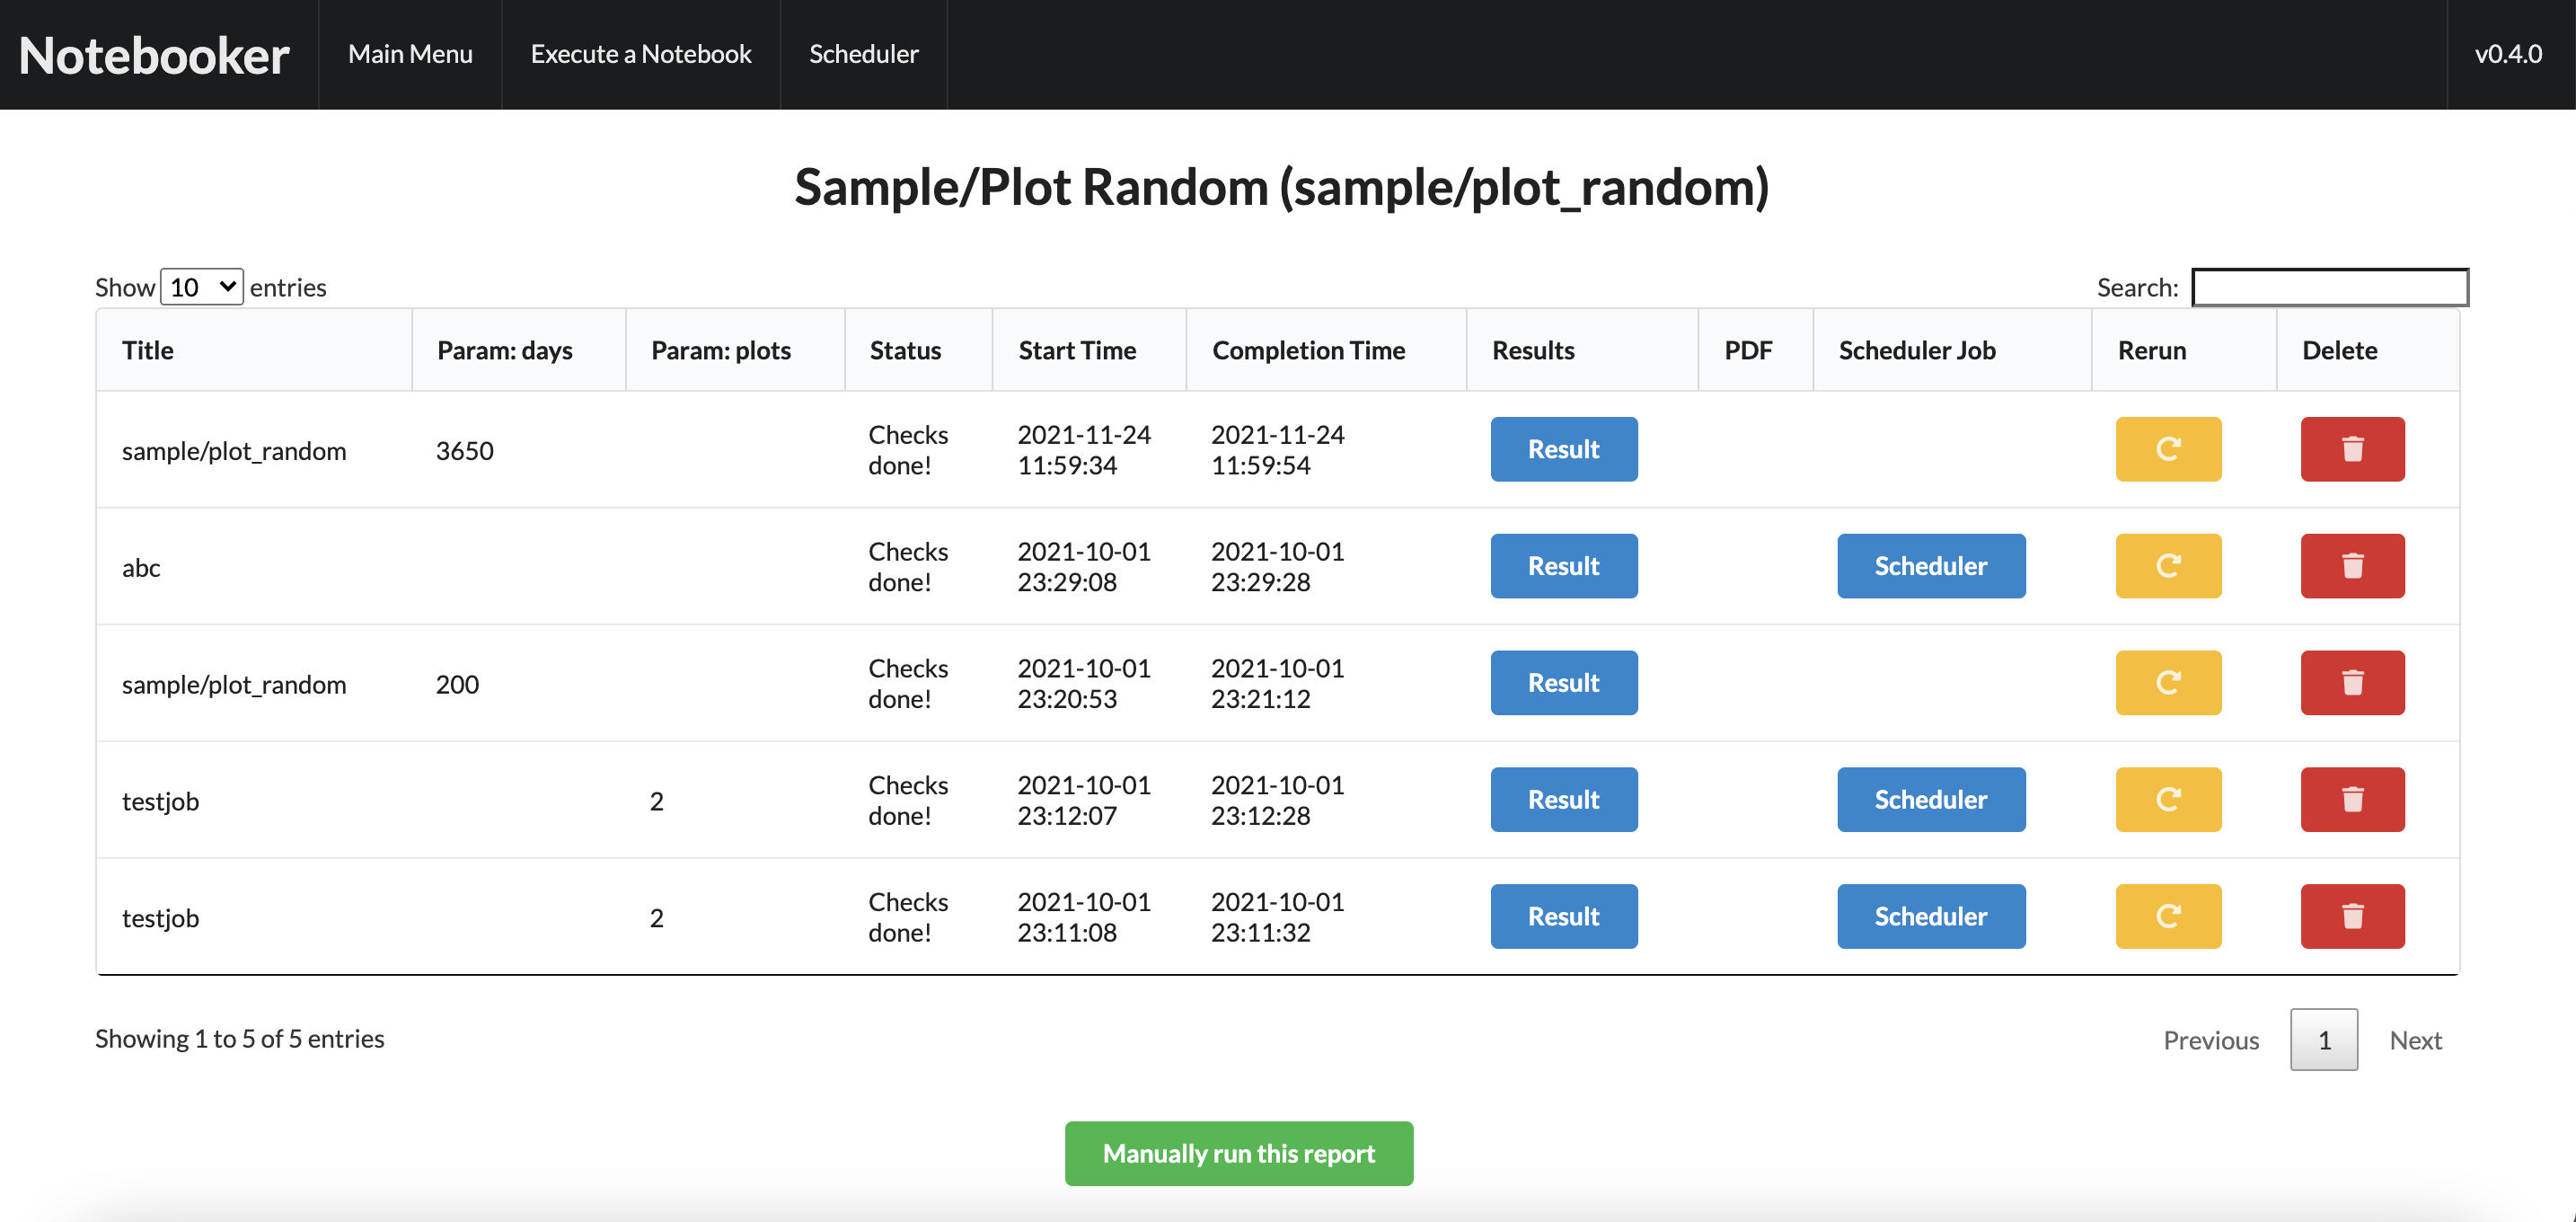
The notebook can be executed with custom parameters. Please take notice that there is an option to convert the notebook to PDF and send it by email:
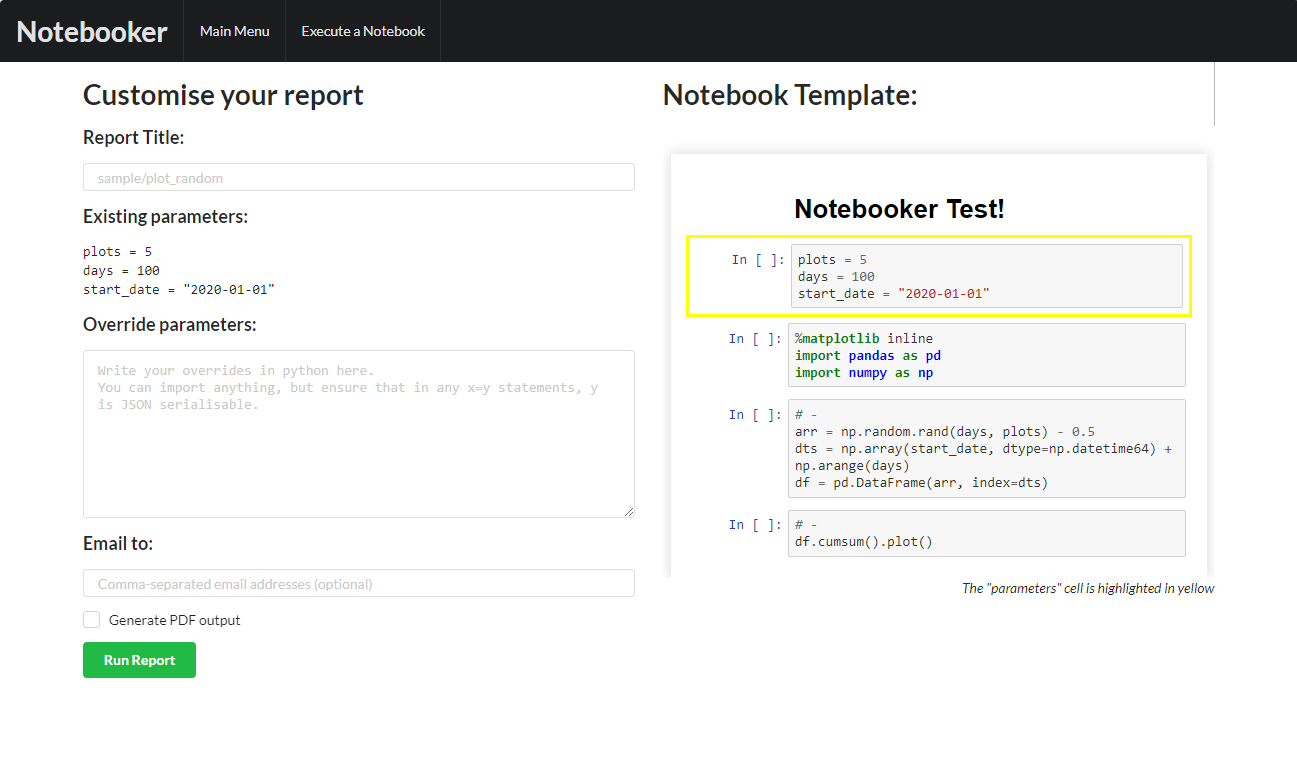
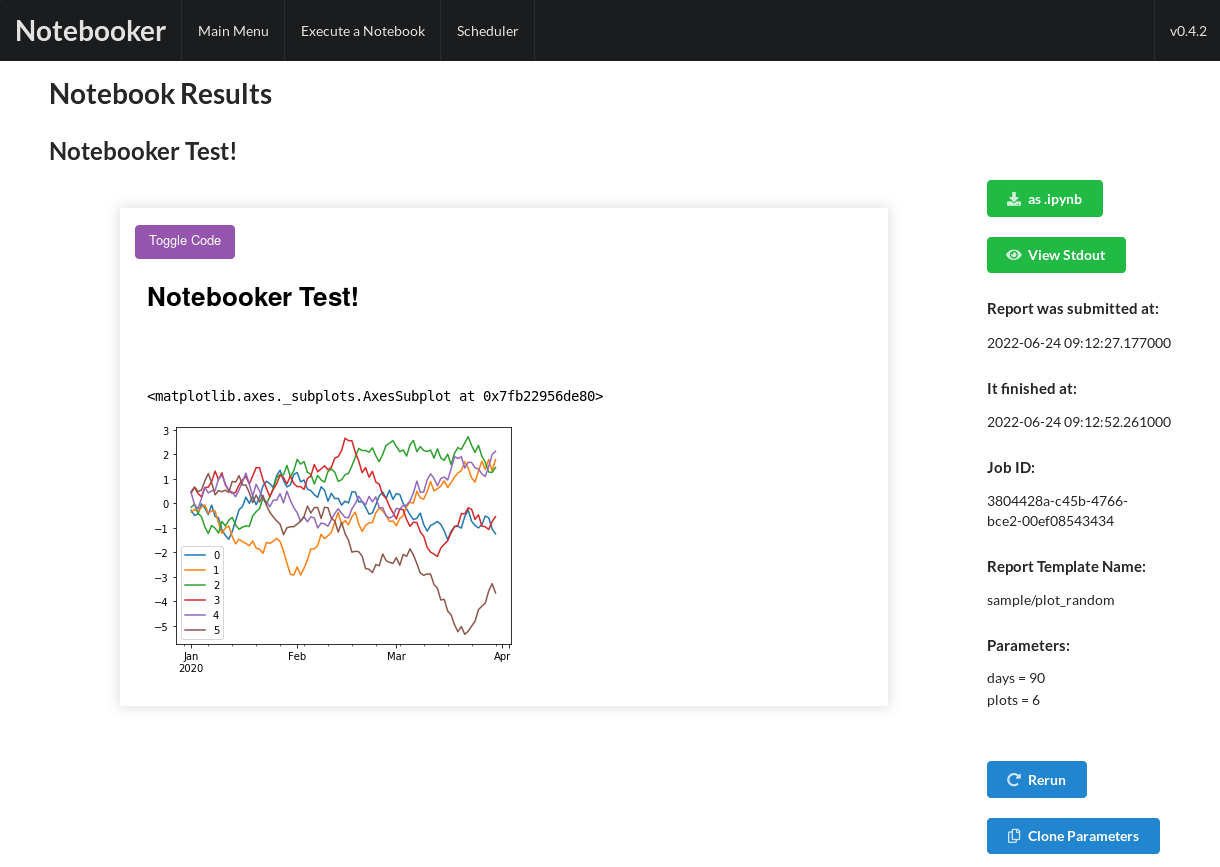
The resulting notebook is displayed in the browser. There is a toggle button to show/hide code.
The Notebooker solution looks very promising. You can run it locally or in the cloud with the docker-compose command. The notebook sharing can be done with a link or email. There is an option to convert executed notebook to PDF.
The biggest drawback is missing user management. You can't restrict access to the notebook. The user with the link to the Notebooker has access to all notebooks. There is no option to export executed notebook as slides with Reveal.js.
The next concern is about the license. It is AGPL-v3. You can make changes to the Notebooker code base, but you are forced to keep them open-source (with the same license). That might be a blocker for small and medium-sized businesses that want a private custom solution. What about support? The large investment company created the Notebooker open-source software, the contributors can help you solve your problems, but they don't have to (you don't have any commercial contract with them). Anyway, this solution looks interesting, and for sure, it is worth checking.
4. Mercury
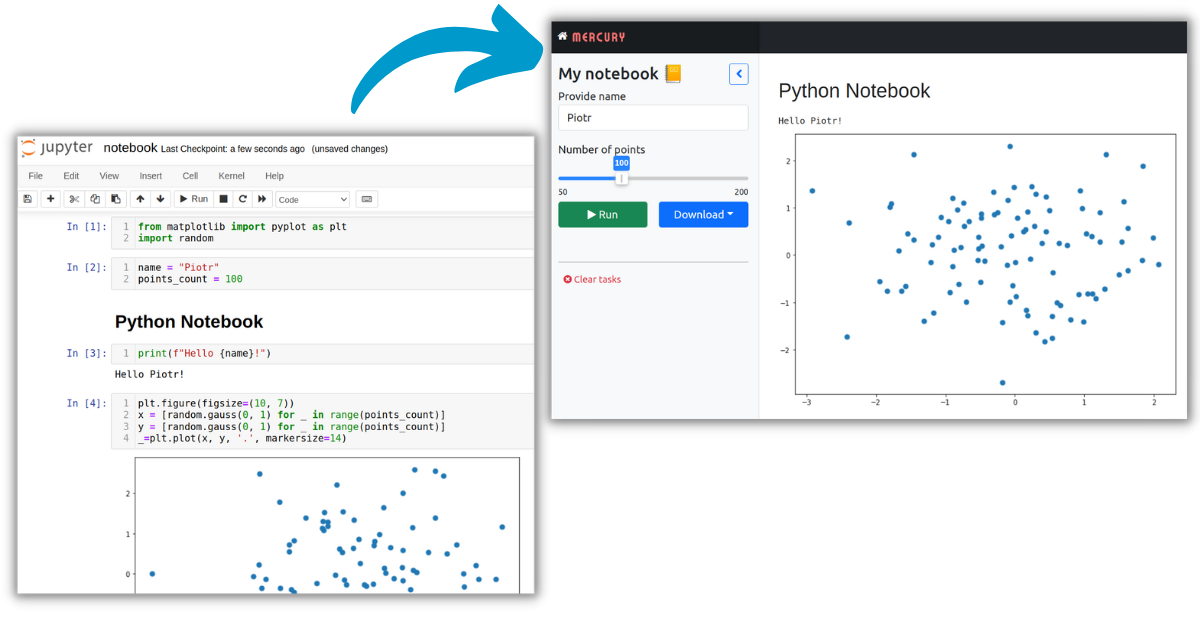
The Mercury is an open-source framework for converting Jupyter Notebooks into web applications. It has the option to schedule Jupyter Notebook. The software is written in React and Django with TypeScript and Python languages.
The Mercury converts Jupyter Notebook to a web app with a YAML header added as the first raw cell of the notebook.
There is available a schedule parameter in the YAML configuration. It accepts a crontab string. The example YAML header that schedules notebook:
---
title: Financial report
description: Stock financial report
schedule: '0 9 * * 1-5'
notify:
    on_success: contact@mljar.com
    attachment: pdf
show-code: False
params:
    ticker:
        input: select
        label: Select a ticker
        value: TSLA
        choices: [TSLA, TWTR, MSFT, SNOW, PLTR, NFLX]
    period:
        input: select
        label: Select period
        value: 3mo
        choices: [1mo, 2mo, 3mo, 6mo, 12mo, 24mo]
---
The scheduling part of the header:
schedule: '0 9 * * 1-5'
notify:
    on_success: contact@mljar.com
    attachment: pdf
show-code: False
- the
scheduleparameter is set for executing the notebook every day at 9:00 AM from Monday to Friday, - the
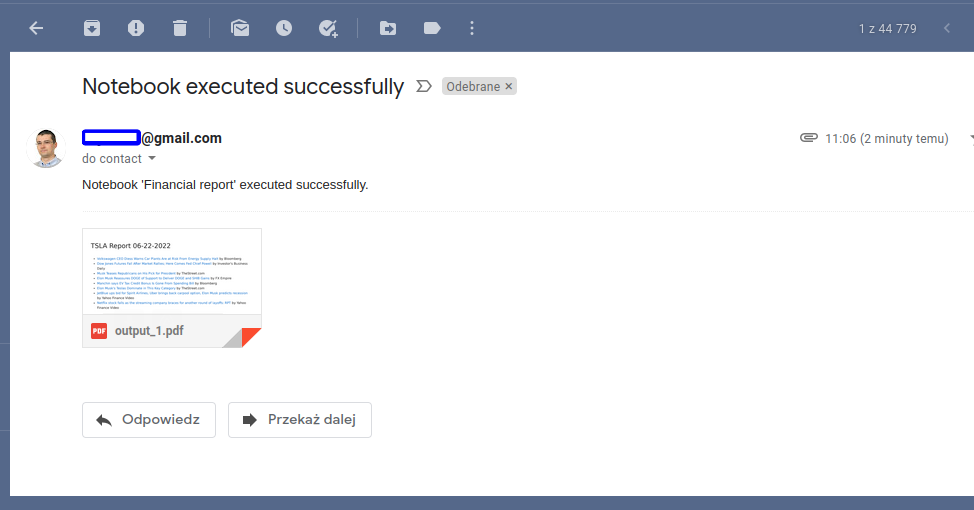
notifyparameter sets a list of emails that will receive a PDF notebook after successful execution, - the
show-code: Falsemeans that the code will be hidden in a final notebook.
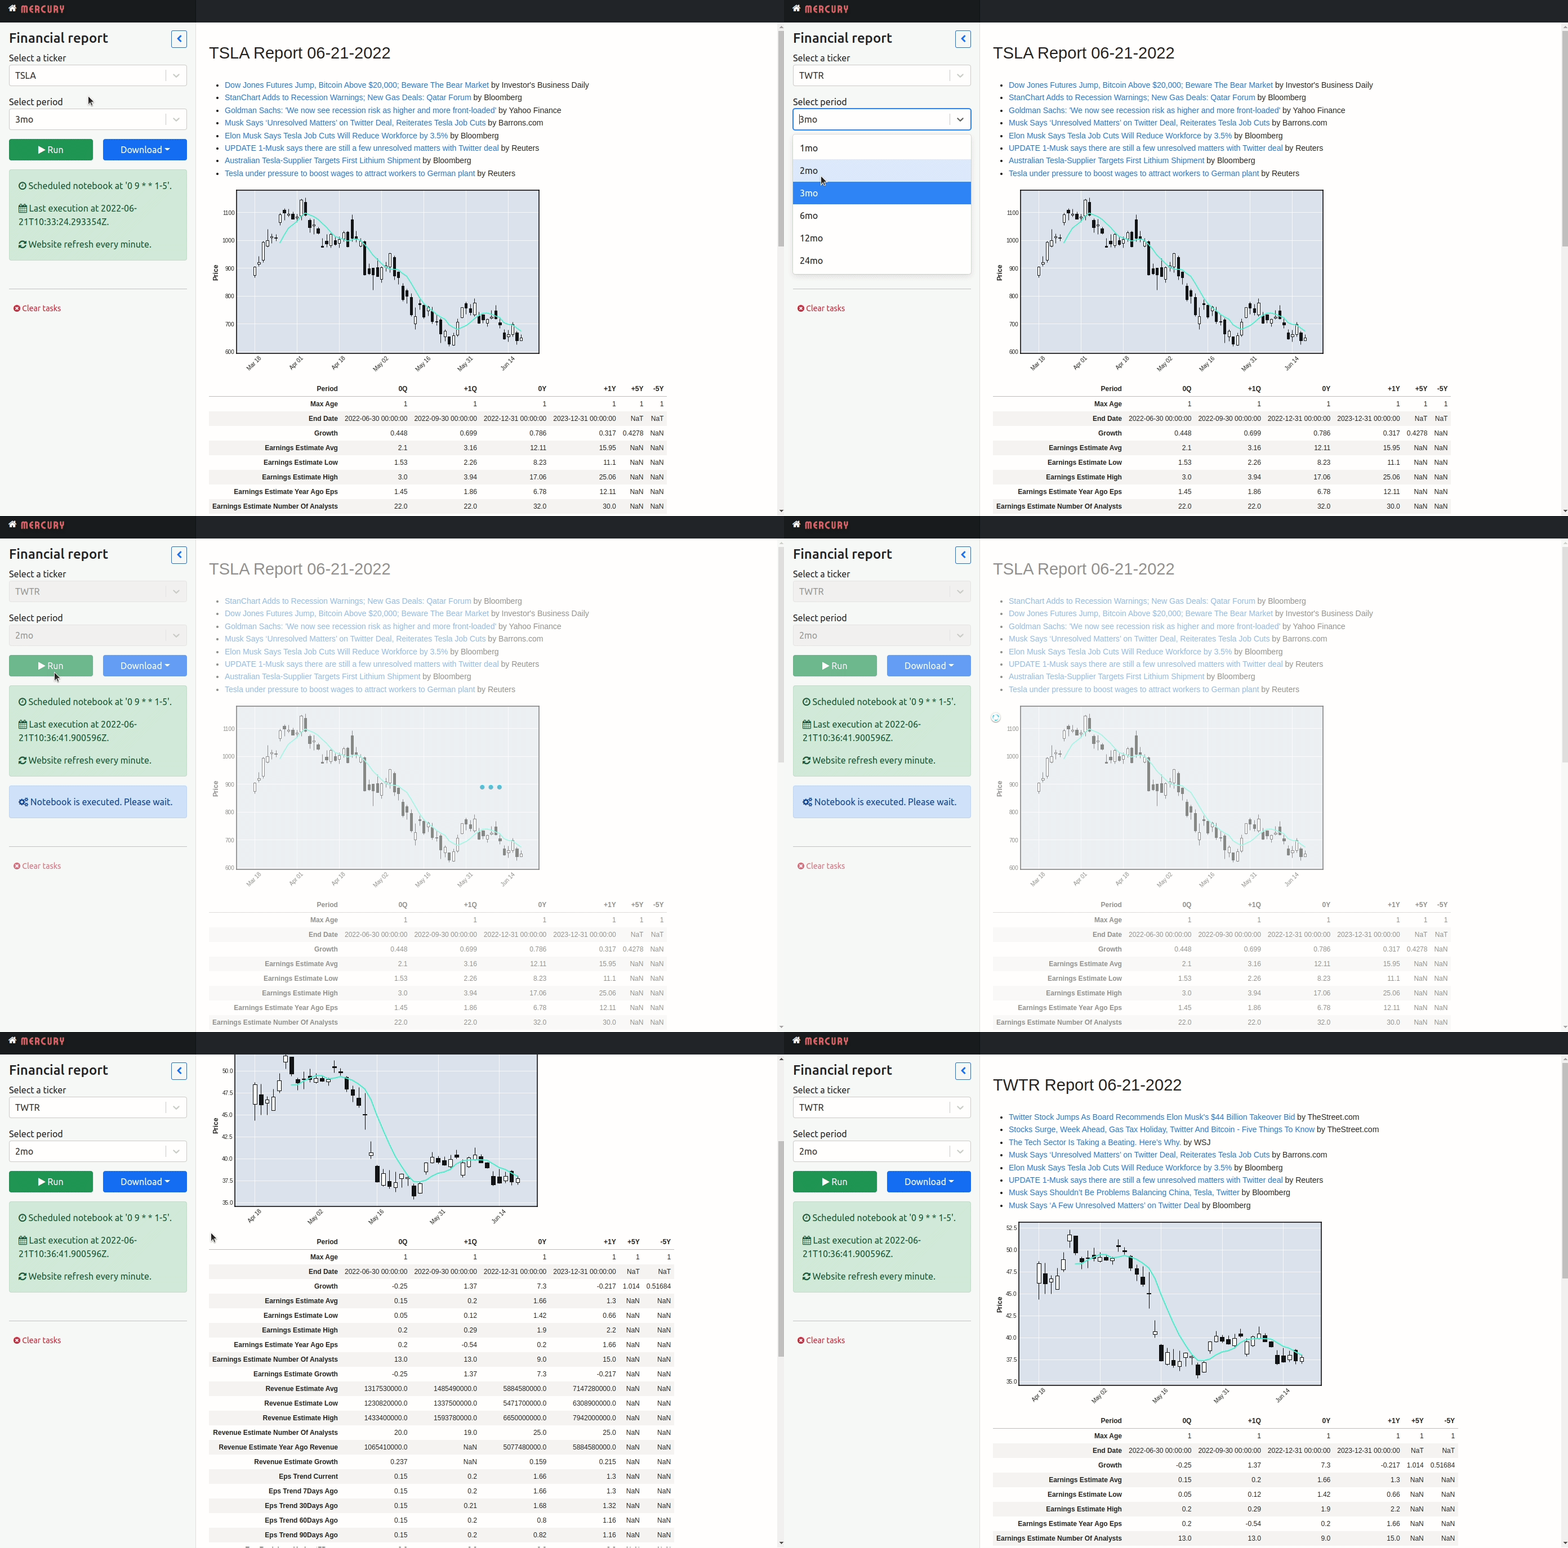
The YAML header is parametrized. There are two parameters available period and ticker. They have default values, however user has an option to select different values for them and execute a notebook with new values. Example custom execution is presented below:
The example email with executed notebook attached as PDF file:
You can share multiple notebooks with Mercury framework. There is a card available for each notebook with a small preview of the first cells:
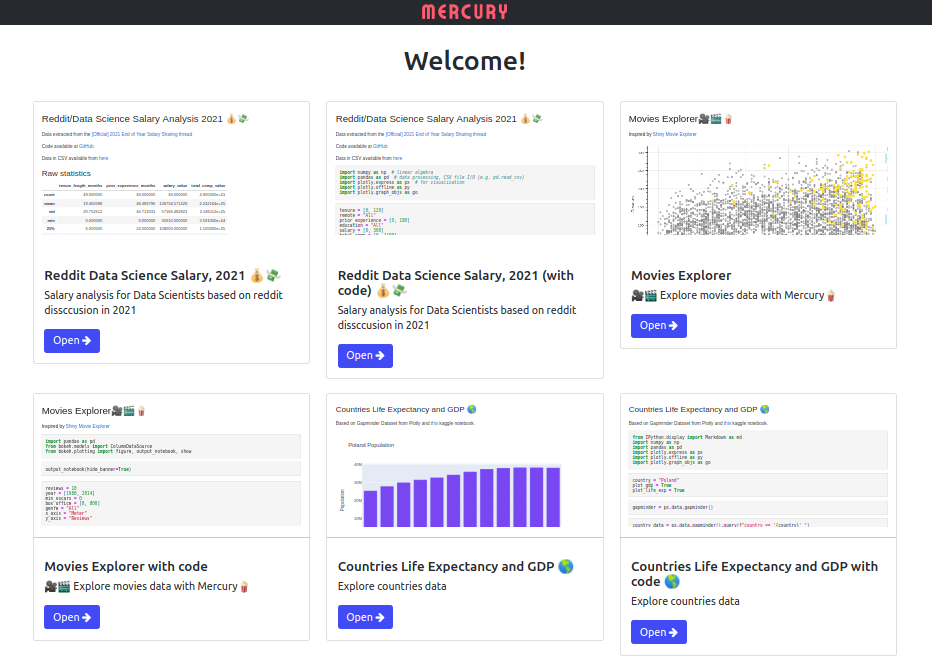
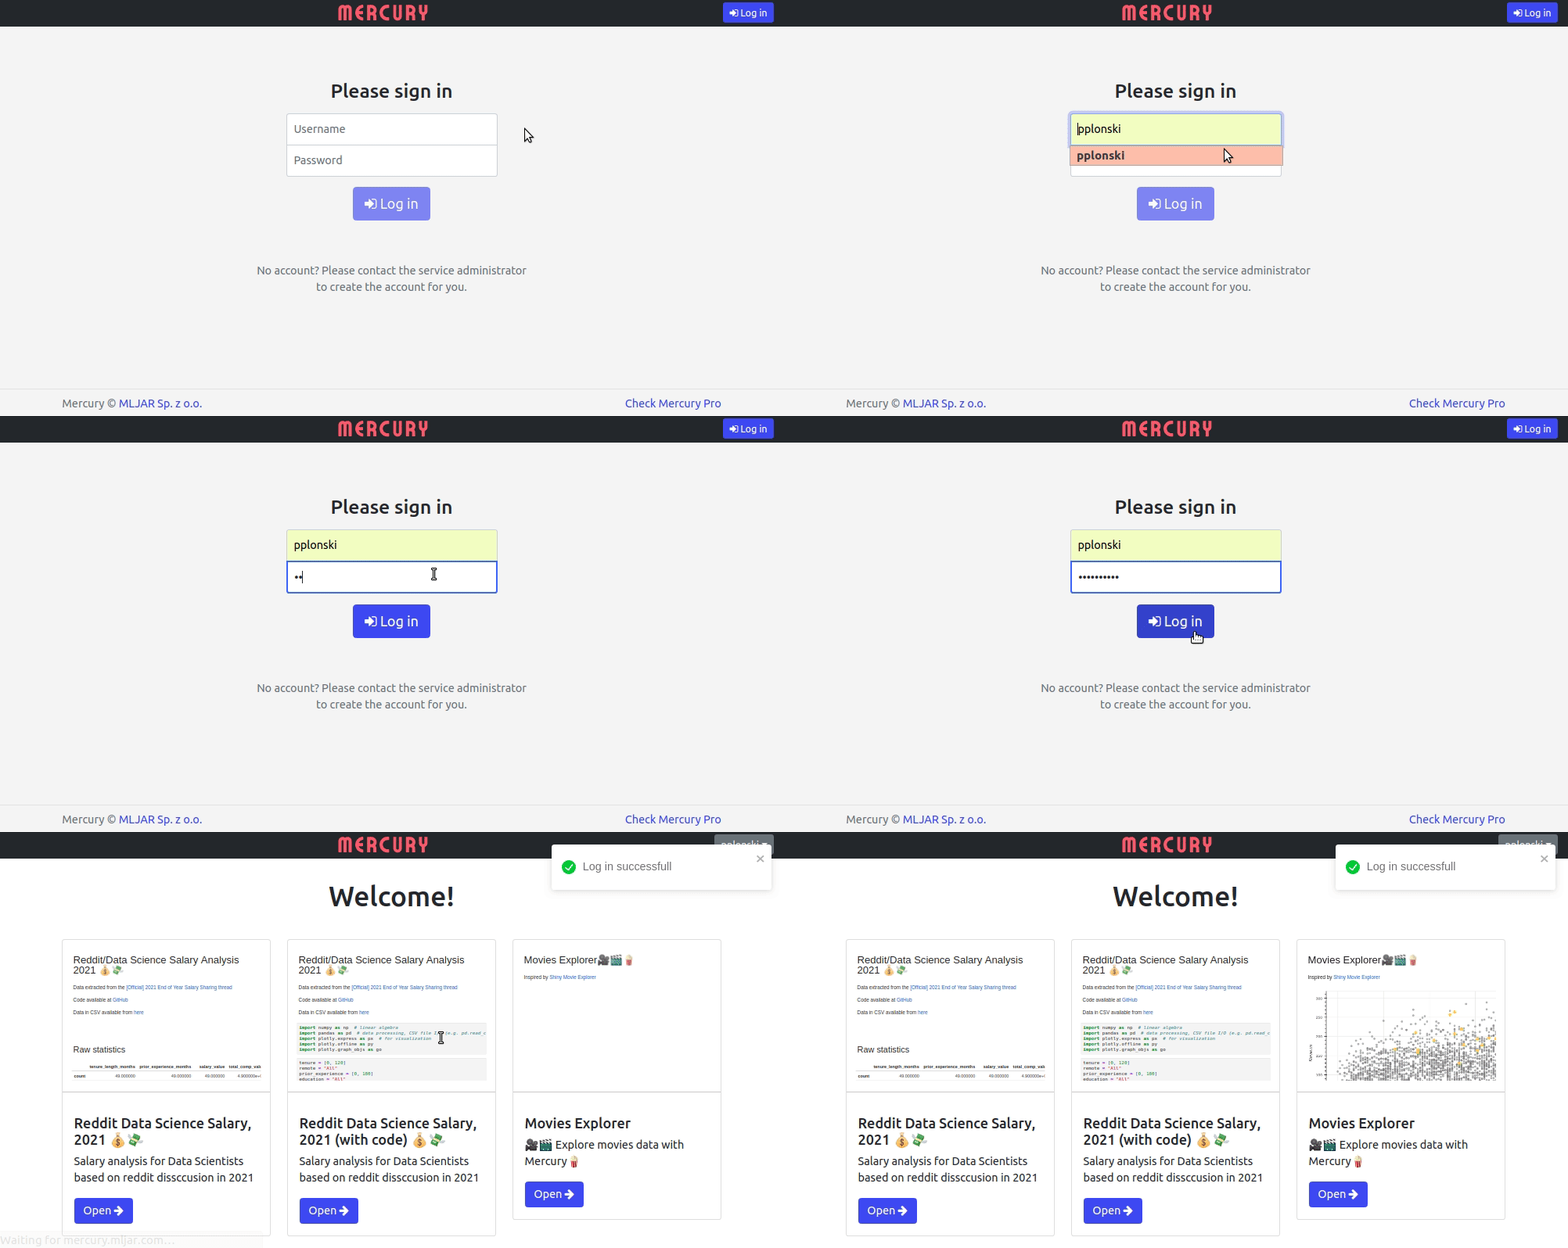
There is user management available in the Mercury. You can add as many users as you want. Restricting the users' access to the notebook is as simple as adding one line in the YAML with a share parameter. There is an option to share a notebook with selected users, groups, or emails list. You can read more in the documentation.
The Mercury can convert Jupyter Notebook into slides with Reveal.js. You can run it locally or in the cloud with the docker-compose command.
The Mercury is dual licensed. The open-source version is available under the AGPL-v3 license. The additional features (authentication), dedicated support, and private forks are provided with a commercial license. You can read more on the Mercury pricing website. It might be a great choice for small and medium-sized businesses looking for a Jupyter Notebook sharing solution.
5. Web-based Notebook Services

If you don't want to install any software locally or in the cloud, then you can use one of online-services that offer Notebook-as-a-Service. The list of a few popular Jupyter Notebook online services:
Those services come with Python environments fully packed with many Data Science and Machine Learning packages. You don't need to install anything; just write Python code.
However, not all of them support scheduling. The documentation links for services with scheduling features:
You need to check which service suit your needs. They offer a different set of features. If you would like to share scheduled notebooks with other users, then they should have online accounts created. Online Notebook service might be a good solution for you if:
- you have no restrictions for storing your data and code in the external cloud services,
- you don't want to manage the remote server by yourself,
- your company can afford a monthly subscription for you and your teammates.
Summary
Automating Jupyter Notebook scheduling might be a great time saver. The bare-bone solution for scheduling applications like cron and Windows Task Scheduler might be a good approach for tech-savvy users that can implement all needed functionality in a few lines of bash or Powershell script. There are open-source solutions, Notebooker and Mercury, created for scheduling and sharing notebooks. The Mercury offers commercial license with dedicated support, additional features, and private forks. It might be an excellent solution for small and medium-sized companies looking for a Jupyter Notebook scheduling solution with customization possibilities. The cloud-based notebook scheduling services are a good offer for companies that can store data and code in the external cloud services and afford user-based pricing.
About the Author

Related Articles
- How to create a dashboard in Python with Jupyter Notebook?
- How to send email in Python? (the simplest approach)
- Dashboard for Data Drift Detection in Python
- Automated PDF Reports with Python
- The 3 ways to export Jupyter Notebook to HTML
- Schedule Jupyter Notebook to run daily
- Create Presentation from Jupyter Notebook
- Create Parameterized Presentation in Jupyter Notebook
- The 3 ways to hide code in Jupyter Notebook Presentation
- Convert Jupyter Notebook to spaCy NLP web application