2 ways to install packages in Jupyter Lab
Many JupyterLab users find installing packages frustrating because it requires using the terminal manually, which can be time-consuming - especially for professional programmers. However, not everyone knows that packages can be installed directly from JupyterLab. In this article, I will show you two simple ways to install packages without leaving your notebook.
1. Notebook shortcut
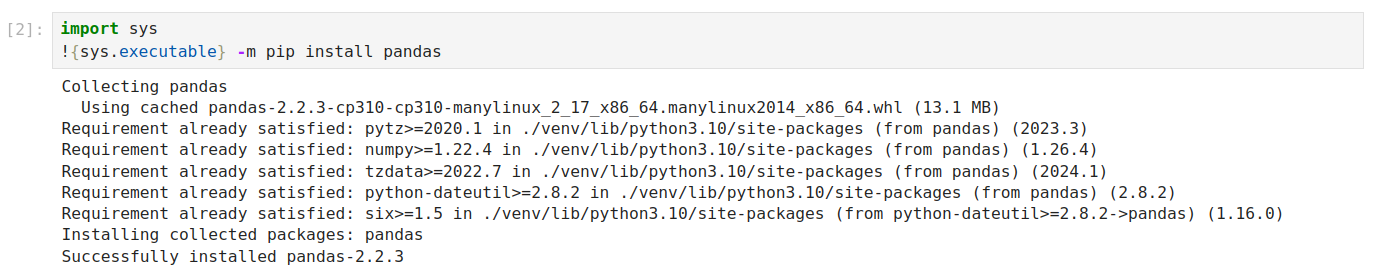
The first method is to run a specific command directly in a notebook cell. Here is a command schema:
import sys
!{sys.executable} -m pip install <package_name>
Example with installing pandas:
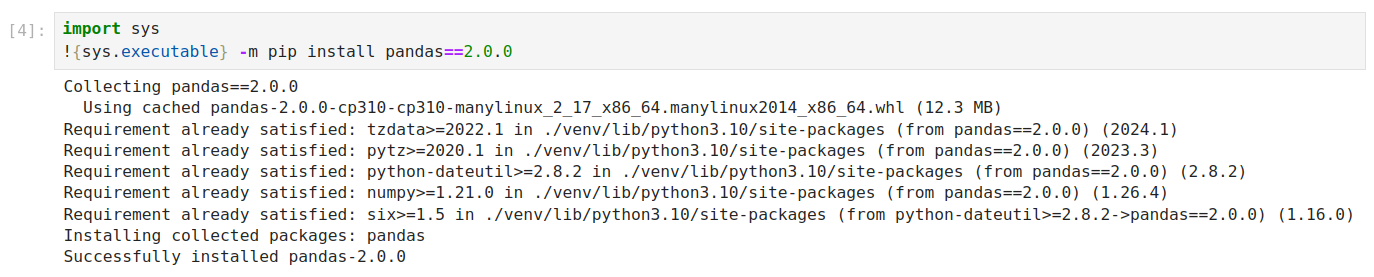
If you want to install a specific version of a package, you can do that too. All you need to do is make a small change to the command we mentioned earlier:
import sys
!{sys.executable} -m pip install <package_name>==<package_version>
Example:
Common mistake
I have decided to mention the most common mistake made during installation packages from JupyterLab - wrong command syntax:
# wrong command
!pip install numpy
You may wonder why this is incorrect. The answer is simple – it might install the package in the wrong environment, which can cause problems. To avoid this, use the command mentioned earlier.
2. Jupyter Packages Manager
If you want to save even more time, you can use the Jupyter Packages Manager - an open source extension for JupyterLab. It lets you install any package without writing any code. Here’s how to use it:
Installation
You can install the extension using following command:
pip install jupyter-package-manager
or download it from GitHub: https://github.com/mljar/package-manager
Want to learn more about the extension? Check out this article: Jupyter Packages Manager
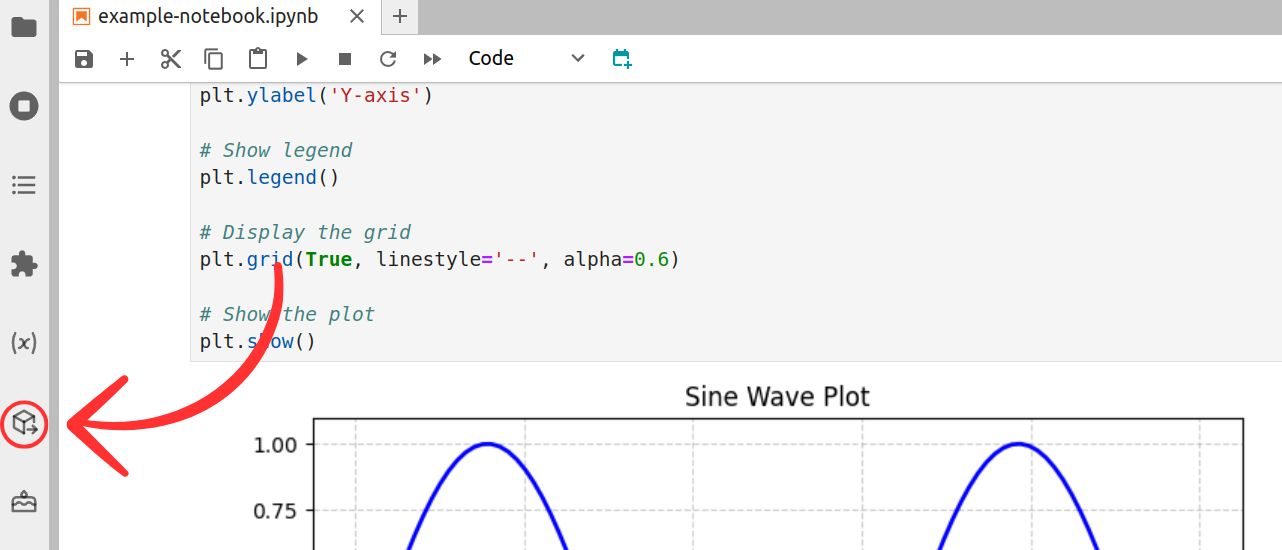
Open Jupyter Packages Manager
After installation, a new icon should appear on the sidebar:
Go to Install Package
Click the package icon in the top-right corner to open the Install Package section.
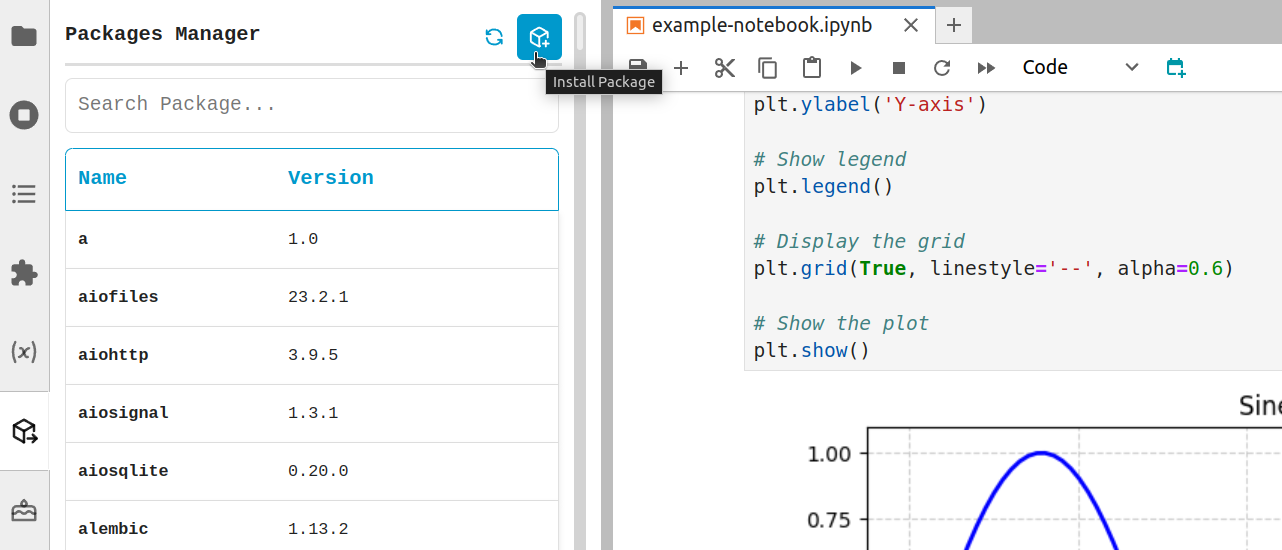
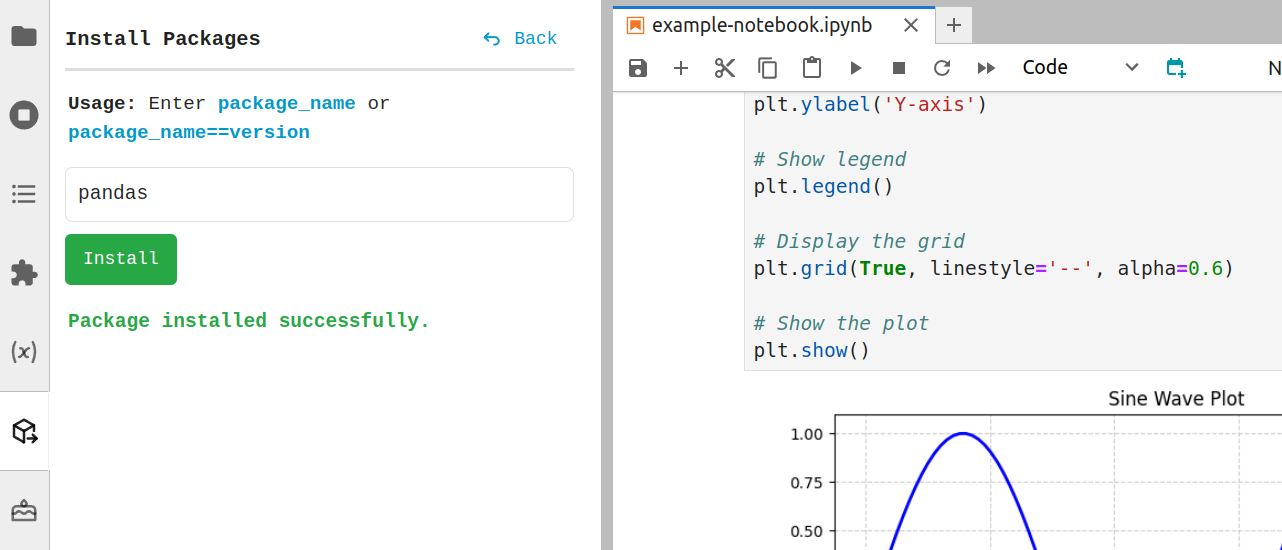
Install the package
Now, just type the package name in the input field and confirm the installation by clicking the Install button.
A confirmation message will let you know when the installation is complete:
This extension and many others are available in MLJAR Studio - powerful Data Science tool that saves you time while coding with the help of an AI assistant and other features.
Get more information here: https://mljar.com/
Conclusion
In conclusion, installing packages in JupyterLab doesn’t have to be a frustrating process. You can easily run commands directly in your notebook to install packages or use the Jupyter Packages Manager extension for a more user-friendly experience. For more tools and features, take a look at MLJAR Studio to improve your coding experience. See you!
AI Data Analyst on Your Computer
Use MLJAR Studio to explore data, find insights, and create reports with AI. Everything runs locally, so your data stays with you.
About the Author

Related Articles
- How to install packages in Python
- The future of no code data science
- Programming Languages for Data Science
- 8 Open-Source AutoML Frameworks: How to Choose the Right One
- LightGBM predict on Pandas DataFrame - Column Order Matters
- 2 ways to delete packages in Jupyter Lab
- 2 ways to list packages in Jupyter Lab
- My top 10 favorite machine learning algorithms
- Jupyter Package Manager
- AutoML Open Source Framework with Python API and GUI